Quick Guide: How to Screenshot on Dell Computers with Ease
Imagine being able to instantly capture important information, preserve fleeting moments, or share visual content with ease. Learning how to screenshot on a Dell laptop or desktop computer empowers you with these capabilities and more. By the end of this blog post, you’ll have an arsenal of methods to take screenshots on Dell devices, from the basics of the Print Screen key to the flexibility of the Snipping Tool and even third-party applications for more advanced users.
Key Takeaways
- Easily take screenshots on Dell computers using the Print Screen key or Snipping Tool.
- Third-party applications provide additional features for capturing and editing screenshots.
- Locate, manage, organize and rename your captured images with ease.
Utilizing the Print Screen Key on Dell Devices
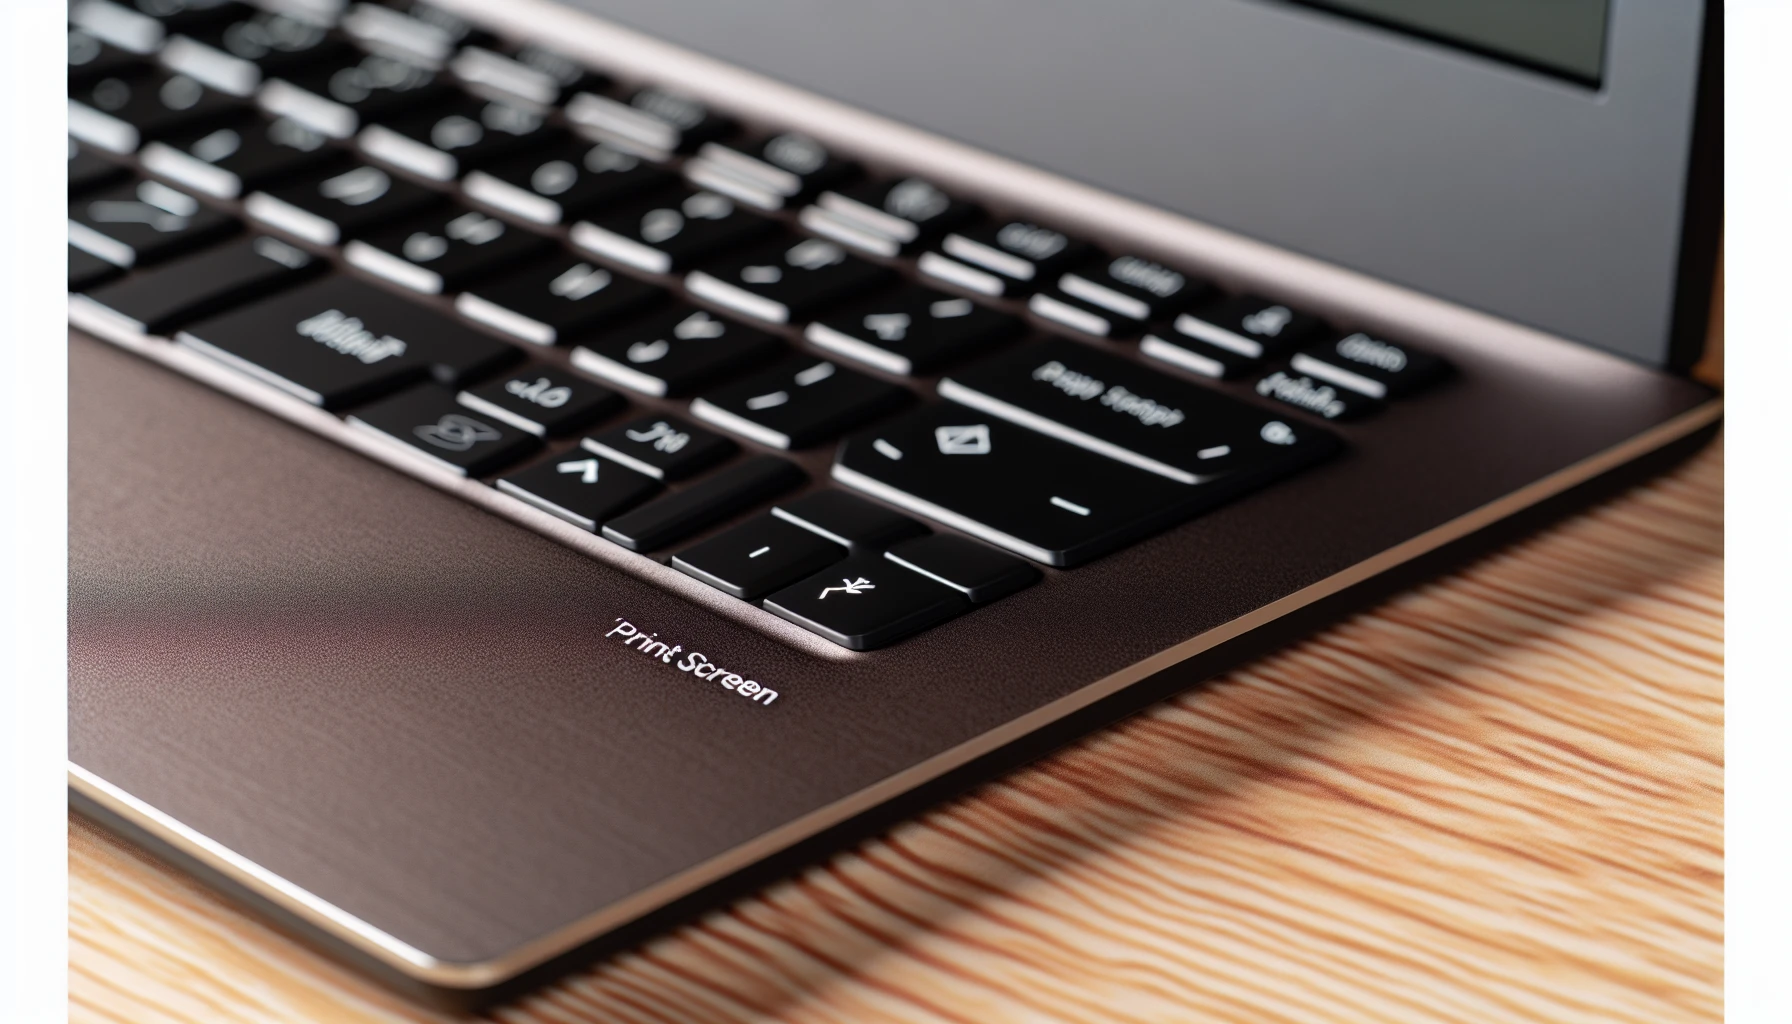
The Print Screen key, also known as the print screen button or simply “screen”, is an effective tool found on most Dell keyboards in the top row to the right of Del. It allows easy capturing of screenshots using various Windows operating systems like 7, 8 and 10 for Dell computers with minimal effort required.
Capturing the Entire Screen
Taking a screenshot of the whole screen on your Dell device is easy. All you need to do is press the right key combination. Most models come with an integrated “Windows” logo and “PrtScr” button, which allows users running Windows 7, XP or Vista versions of their operating system to capture their entire display in just one tap. This process stores it into clipboard memory for added convenience when pasting into an image editor such as Microsoft Paint, where Editing can be done before saving it out as a separate filetype.
Snapping a Single Active Window
If you’re aiming to save an individual active window on your Dell computer, the Print Screen key will do that for you. To take a screenshot of one such active window, press ALT along with the Prt Sc keys simultaneously (function keys compatible devices). This is perfect for those needing quick snaps from particular windows without subsequent cropping or editing of the capture afterward.
You can then paste this screen in Microsoft Paint (or any other image editor) and modify it if desired before saving it as an image file directly onto your machine. The process requires minimal time effort and works great especially when capturing single/specific active screens quickly on-the-go!
Harnessing the Power of the Snipping Tool
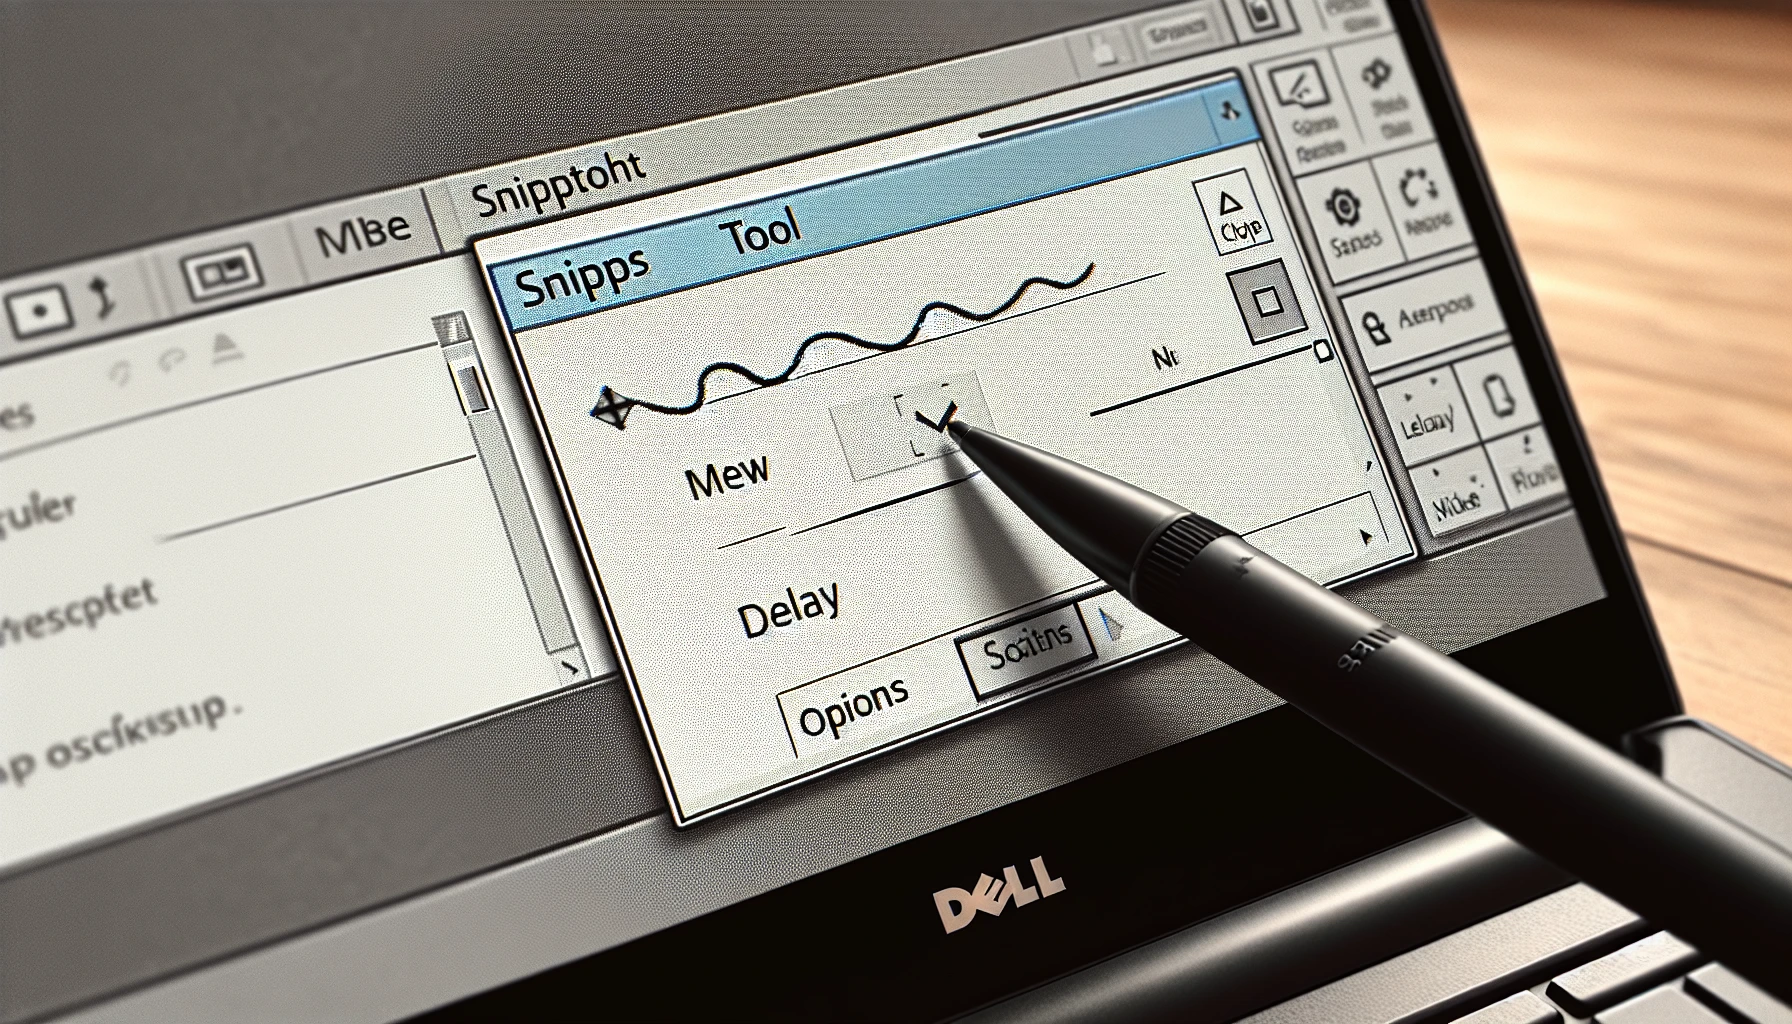
Dell users who wish to have more authority when taking screenshots can use the Snipping Tool, a Windows feature. This practical application grants you command over capturing parts of your screen. Allowing you to modify and comment on these captures as well as preserve them on your device.
Accessing the Snipping Tool
To access the Snipping Tool on your Dell, you can type “Sniping Tool” in the search field of the Start menu or use Windows+Shift+S keyboard shortcut. Once open, to take screenshots, choose a snip type (rectangular, free-form, etc.) and capture area with mouse cursor. The screenshot will be seen in a window which allows for editing before saving it as needed.
Different Snip Types
The Snipping Tool offers a few snip types in order to provide you with your desired screenshot. The rectangular snip allows users the convenience of selecting an area on their screen and capturing it by simply drawing around its borders. Making it ideal for particular images that may not need editing afterwards. Alongside this, there is also a window snip which grabs just one application or window display while free-form captures allow more freedom when trying to capture unique shapes from the screen - two keystrokes are all that’s needed if someone requires full page coverage using the fullscreen option.
Saving and Editing Screenshots
Using the Snipping Tool, a powerful image editing app available on Dell computers and devices, you can take screenshots of what’s displayed on your screen. After doing so by pressing CTRL + S, simply select the location where you would like to store it for easy access whenever needed.
With this tool there are plenty of options when it comes to Enhancing images before saving or sharing them, highlighter pens in various colors with different levels of thickness that allow users to add annotations as they wish.
Third-Party Screenshot Applications for Dell Computers
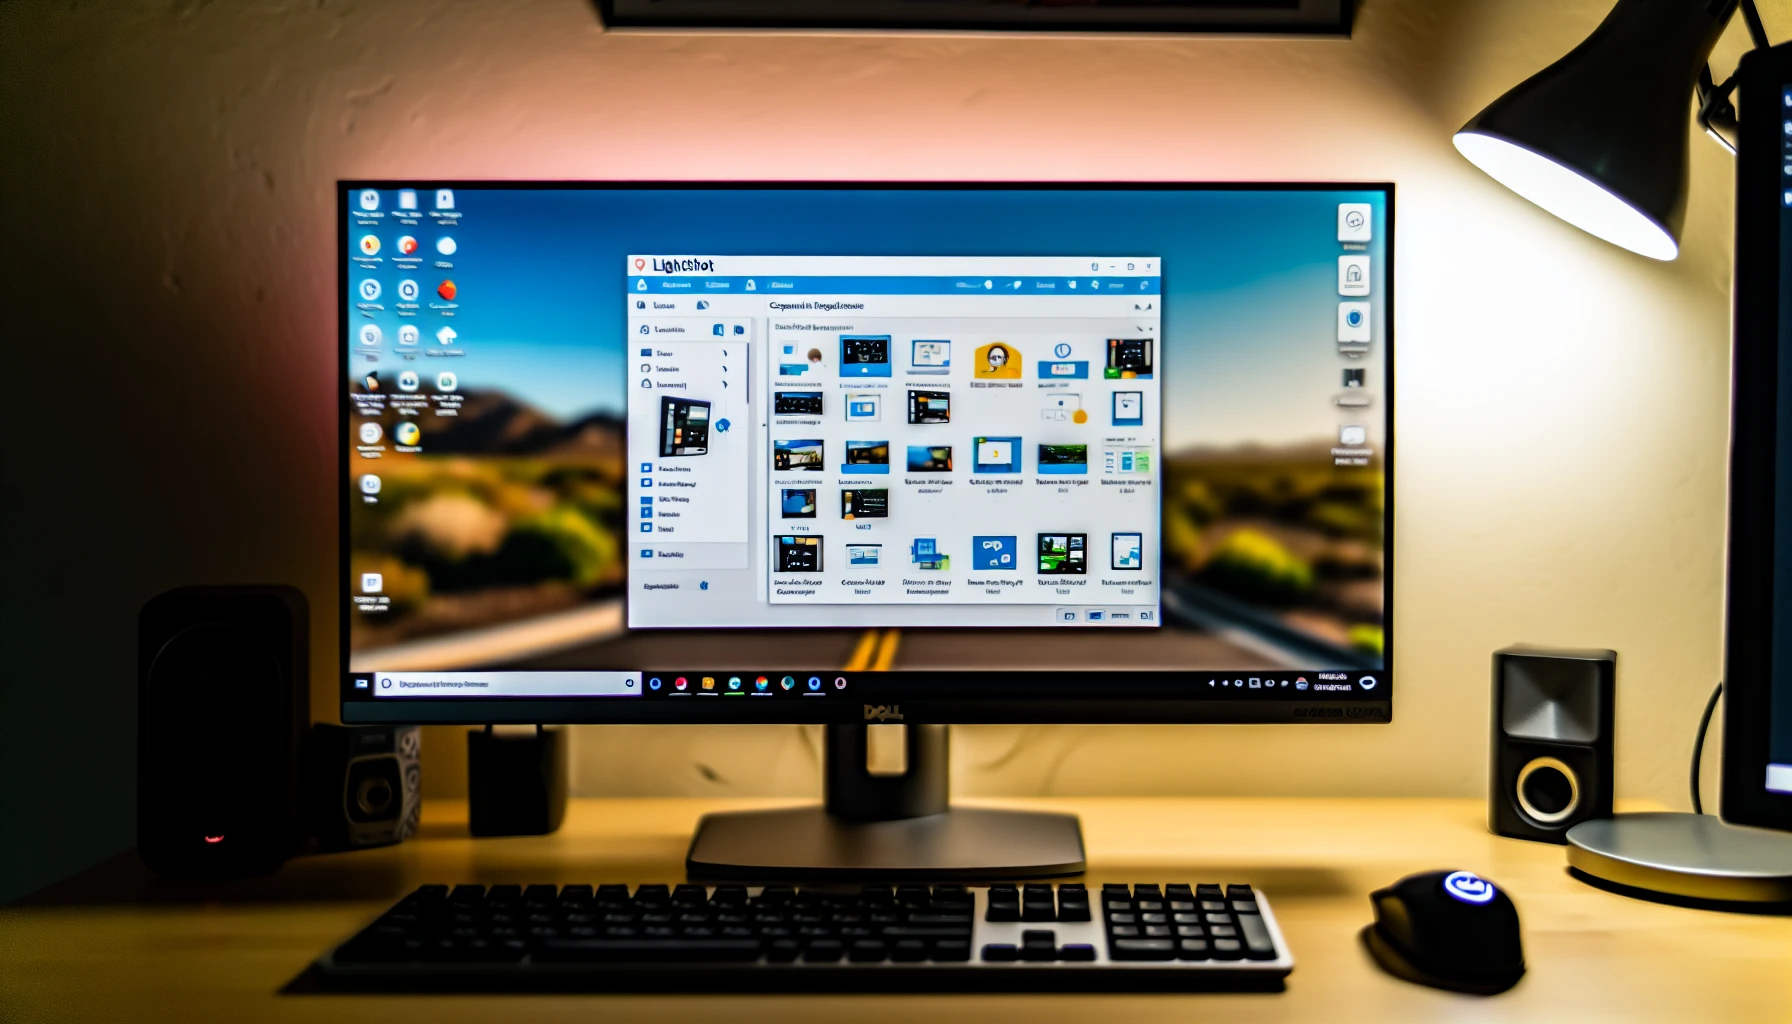
For those who would like even more options and customization in terms of screenshots on their Dell devices, be it desktop computers or laptops, there are many third-party screenshot applications available. We will discuss two highly popular choices - Lightshot and ShareX - to explain the various advantages Dell users can offer.
EaseUS ScreenShot is another powerful, no-cost utility designed for capturing screenshots on your Dell desktop with precision. It offers a range of customisation options, including the ability to easily capture any area of your screen.
Lightshot: A Lightweight Screenshot Tool

Using Lightshot is easy. Just press the Print Screen (PrtScn) key on your Dell device keyboard, and you can select an area to capture a screenshot of it. You also have access to annotation tools as well as basic image editing features in this lightweight yet powerful app for capturing screenshots quickly and easily.
After selecting which portion of the screen you want captured with Lightshot, just save it in any desired location then enjoy your edited snapshot! With its versatile capabilities available specifically tailored for Dell devices users, make sure that no detail gets lost thanks to this efficient screenshot tool today.
ShareX: An Advanced Screen Capture Solution
For those looking for a more feature-rich screen capture option, ShareX has plenty to offer Dell users. This advanced tool boasts customizable options and multiple methods of capture, as well as features like cloud storage integration and various other utilities. Its open source nature makes it especially valuable to power users who need powerful screenshot tools on their Dell computer. With its impressive capabilities, you can bring your screen capturing game up a notch with this superb software solution designed specially for the brand’s products.
Locating and Managing Your Screenshots
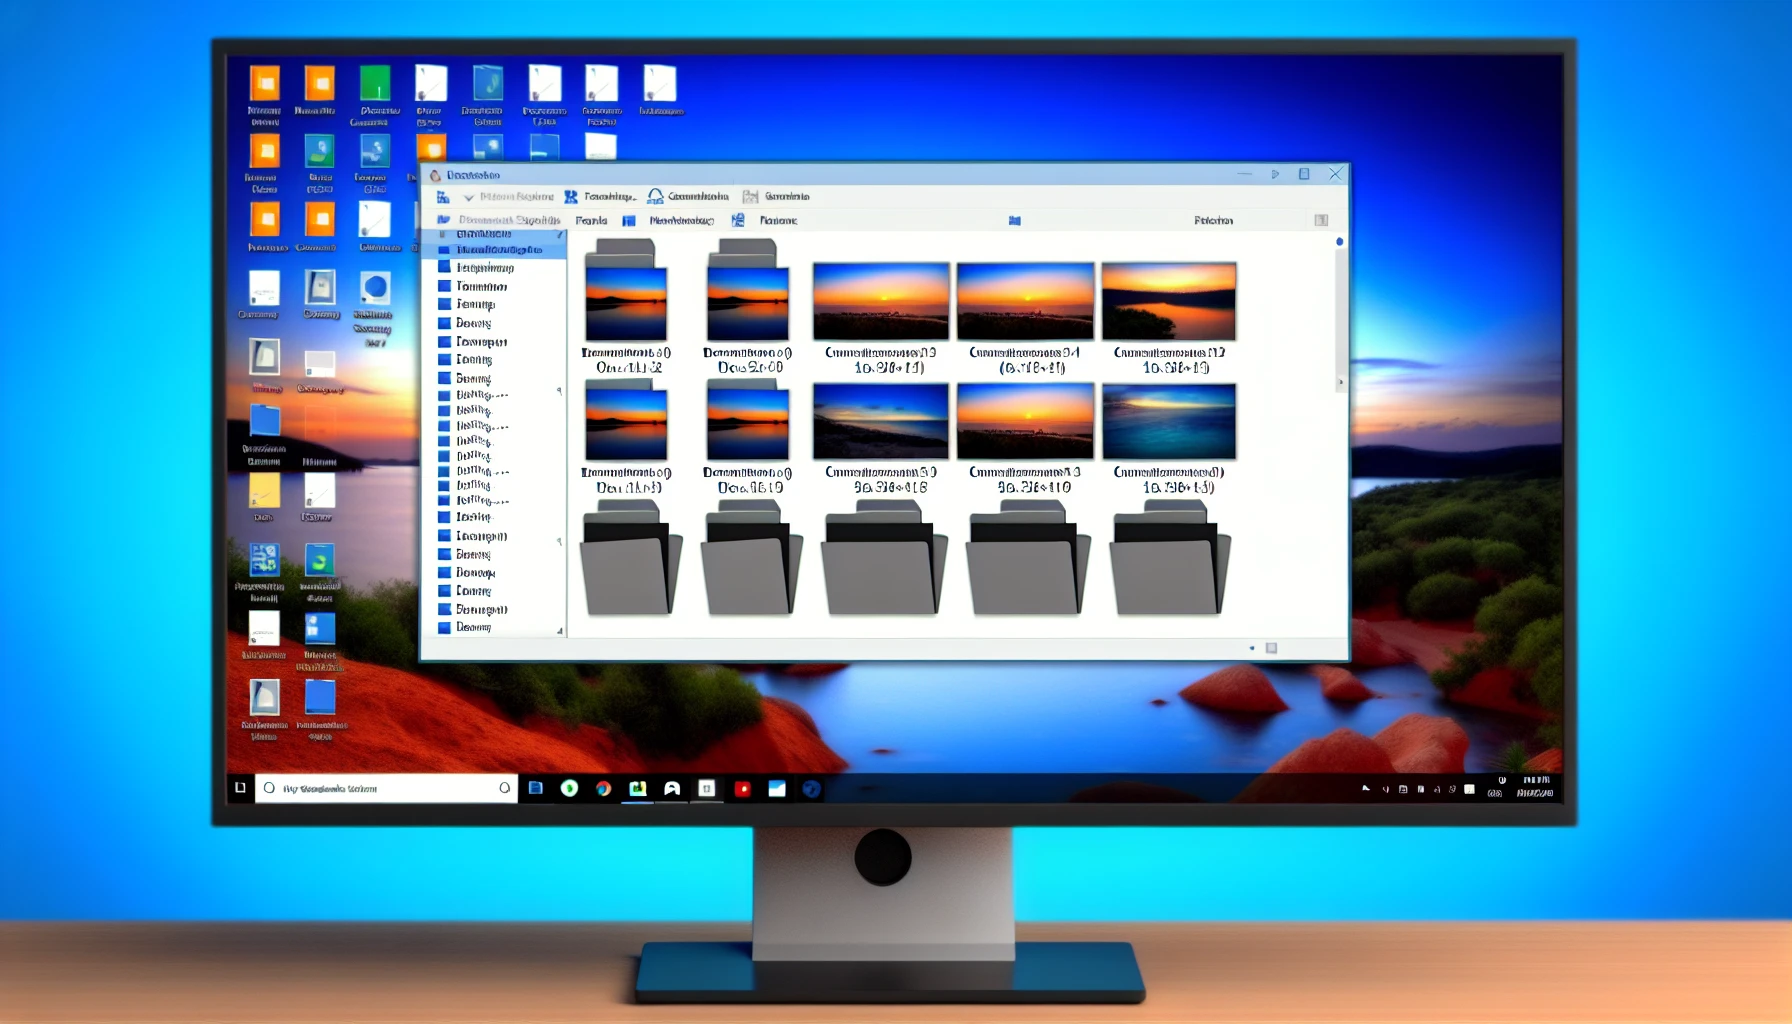
Knowing how to take screenshots on your Dell machine is of importance, and it’s just as important to be able to manage them efficiently. To make finding the shots easier, labeling each one appropriately will help with retrieval when needed for sharing or Use.
Default Screenshot Folder
On Dell devices running Windows, screenshots taken are by default saved in the ‘Screenshots’ folder which can be found in the ‘Pictures’ directory. This helps you to keep all of your captured screens organized and easily accessible. To customize where these images get stored on a Dell device with Windows 10 installed, there is an easy method:
Right-click on the Screenshot folder > Properties > Location tab > Move button > select desired place for keeping photos from now onwards. Hence making it simple to manage and access them according to user’s needs.
Organizing and Renaming Screenshots
Organizing and labelling your screenshots correctly is crucial for effortlessly finding them when needed. On a Dell computer, renaming a screenshot can be easily done by right-clicking on the file and choosing “Rename” before entering the desired name of the image. This quick method ensures you always know where to locate any particular screenshot whenever necessary.It’s also helpful to create separate folders within your default screenshot folder in order to sort out each one based on its content or intended use. This way you’ll have an efficient system that will make sure locating specific shots takes no time at all!
Summary
Capture all the visuals you need quickly and efficiently with your Dell computer. This guide provides several tools, such as the Print Screen key, Snipping Tool, Lightshot and ShareX to help. With these methods at hand, it is easy to record a screenshot then edit or share it straight away, uncovering what true potential lies within every Dell machine. So don’t wait any longer: get capturing screenshots now!
Frequently Asked Questions
How to take a screenshot on Dell?
To capture a screenshot on Dell computers, one needs to press the Windows logo key in conjunction with the PrtScrn button. Tablets require pressing both the Windows icon and volume down simultaneously. The saved image will be located within their Pictures directory as part of its own folder named Screenshots. All screenshots taken this way by any type of device are accessible through that same location: the ‘Screenshots’ folder inside of your system’s Pictures folder.
How do you capture a screenshot on a PC?
Press the Windows key with the Print Screen key to save an image of your screen in a file and it will be stored in a Screenshots folder. Alternately, combining Ctrl + C. PrtSc or using only the Print Screen button next to Space Bar could produce the same results. The picture should appear dimly onscreen as confirmation that you have taken its screenshot successfully.
How do you crop a screenshot on a Dell computer?
To take a screenshot on a Dell machine, press the Windows key in combination with PrntScrn. You can also opt to use the Snipping Tool by utilizing its keyboard shortcut (Windows Logo Key + Shift + S).
Simply drag your cursor over what you want included and it will be captured, easy as that! No need for extra software or tools. All of this is right there at your fingertips on a Dell computer.
What are the different snip types available in the Snipping Tool?
The Snipping Tool allows three forms of capture: a rectangular shape, free-form and full display. This tool enables users to take screenshots of their screens with accuracy in whatever form they desire.
How do I access the Snipping Tool on my Dell computer?
To get to the Snipping Tool on a Dell, begin by going to the Start menu and typing in “Snipping Tool”. Once you have done that, click on it for access.