Effortless Sync: Learn How to Transfer iPhone to iPhone with These Steps
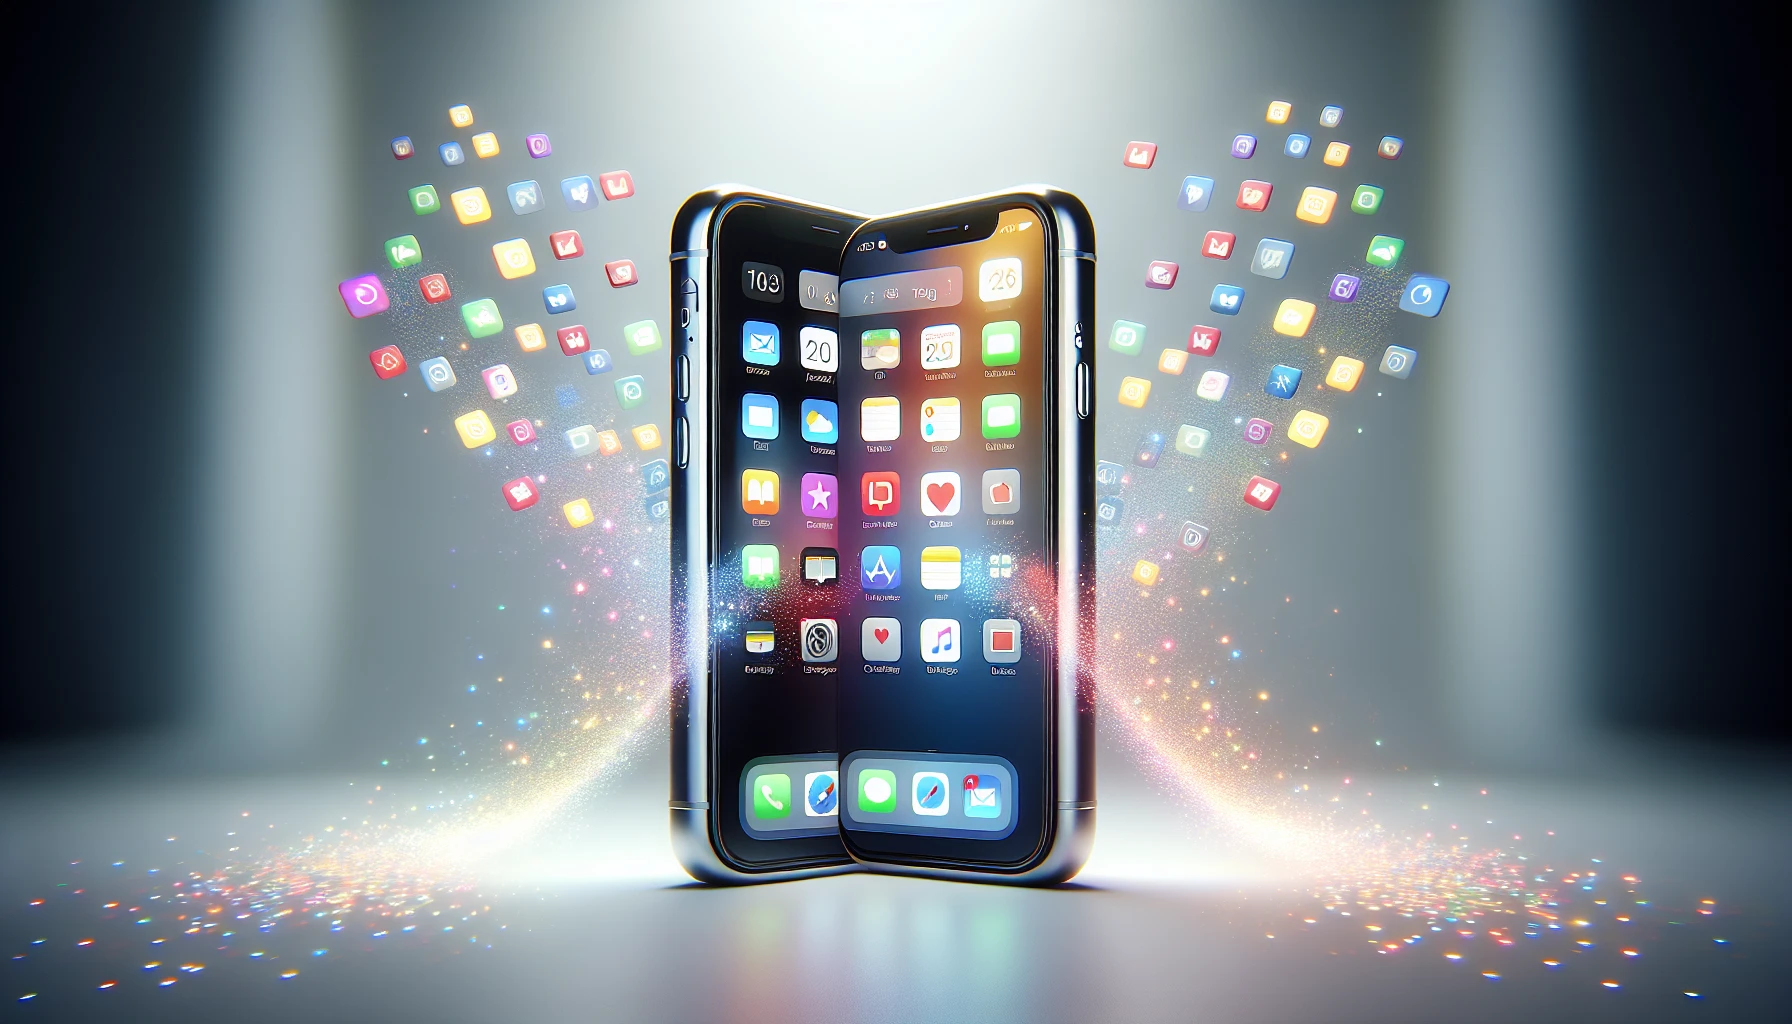
Ever upgraded your iPhone only to feel overwhelmed by the task of transferring data from your old device to the new one? Worry no more! Transferring data between iPhones has never been easier thanks to a variety of methods like Quick Start, iCloud Backup, Finder app for Mac users, iTunes for Windows users, and AirDrop. Let’s dive into the process of “how to transfer iPhone to iPhone” seamlessly, ensuring you don’t lose any precious memories or vital information.
Key Takeaways
- Quick Start enables fast and easy data transfer between iPhones with compatible iOS versions.
- Create an iCloud backup to securely store essential data, then perform a factory reset on the old iPhone for digital safety.
- Use Finder App (Mac) or iTunes (PC) to transfer files wirelessly via AirDrop.
Using Quick Start for Seamless Data Transfer

Quick Start is a beneficial and time-saving way of transferring data between iPhones. This straightforward feature streamlines the process, so that you can swiftly move all your existing information from one device to another with ease. The essential step prior to starting the transfer is ensuring both phones are running iOS 12.4 or higher versions and Bluetooth is enabled. It’s recommended you back up your files into iCloud or external storage mediums while also having ready access to an Apple ID linked with iCloud. Following this, simply follow on screen instructions for quickly completing data transition onto the new iPhone successfully!
Preparing Your iPhones
To use Quick Start for transferring data from one device to another, it is important that the two iPhones be compatible and within a distance of 10 meters (or around 30 feet). To check if your iPhone’s iOS version meets these requirements, open Settings > General > iOS. About where you can view “Version” information. Once both devices are compatible with each other and in range, you’re all set to start moving the data over!
Initiating the Transfer
To ensure your data is securely transferred to a new iPhone, follow the setup process that involves unlocking your old device and entering its Apple ID. On reaching the “Transfer Your Data” screen, select which settings and information you want to transfer by tapping ‘Transfer Directly from iPhone’ on the display. The whole process can take up an hour if both devices are plugged in and connected via WiFi for optimal results. Keep these points in mind while initiating this secure data transition with ease!
iCloud Backup: A Cloud-Based Solution
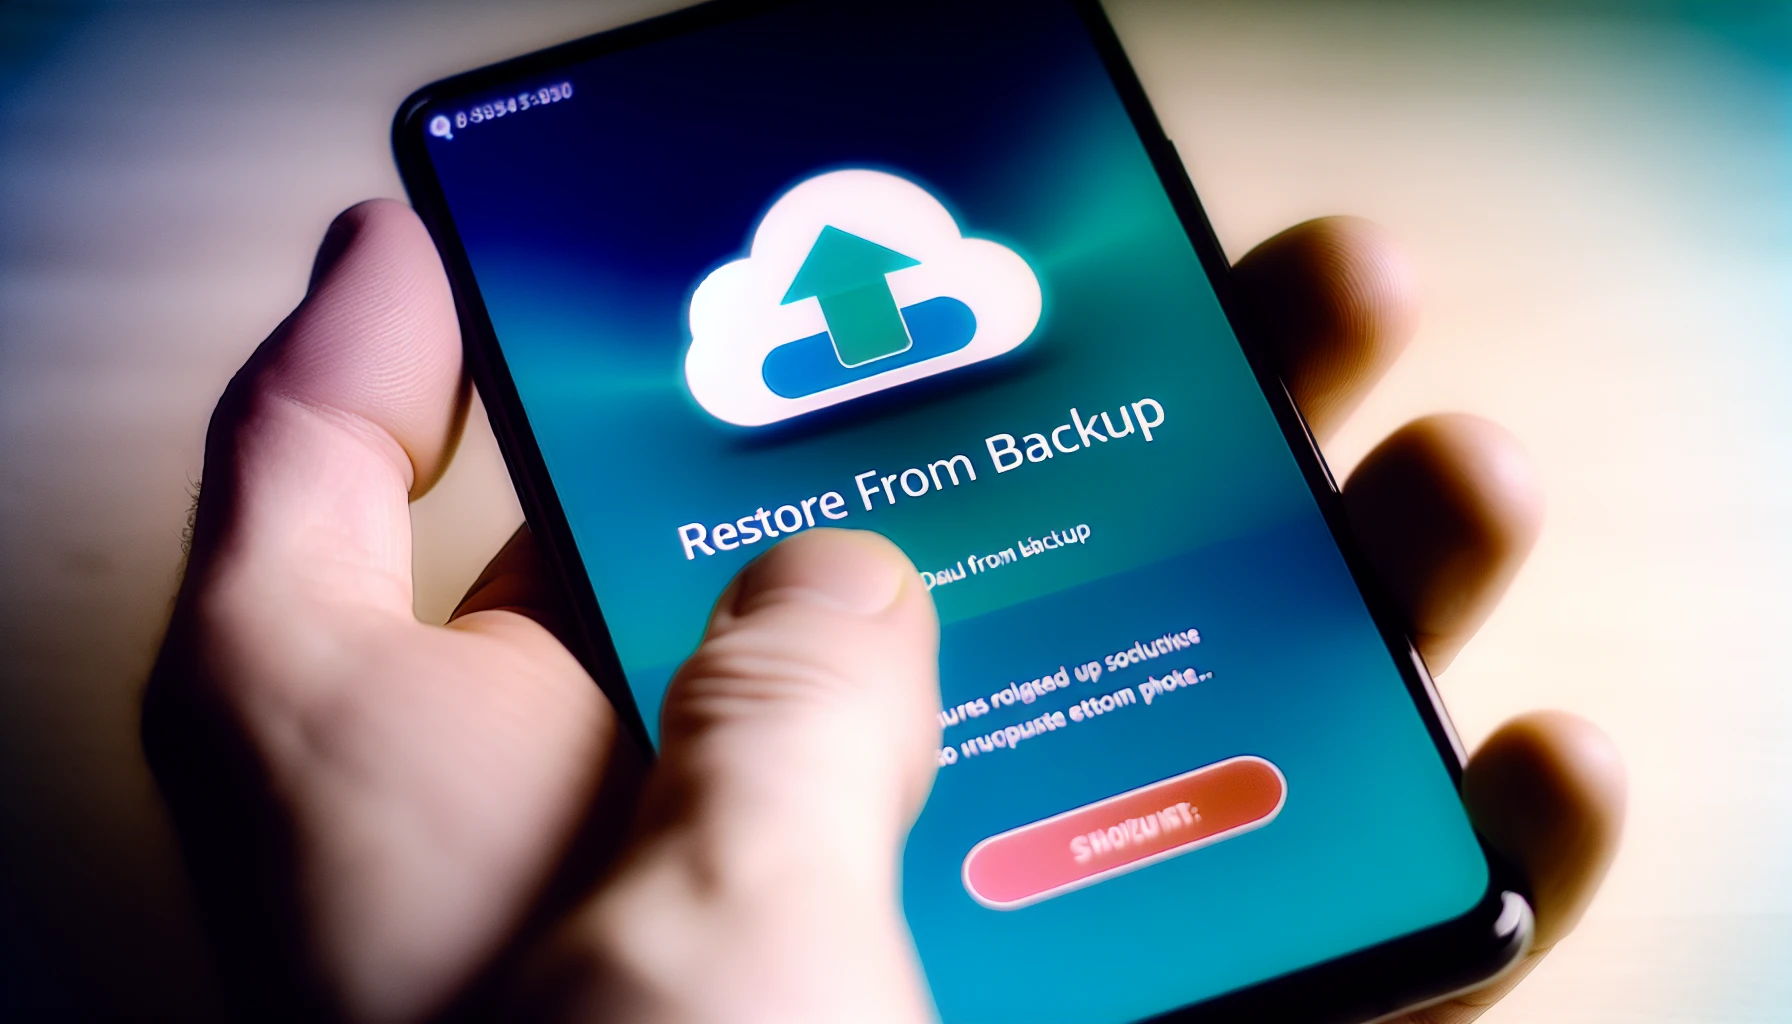
To easily transfer data from your old iPhone to a new one, iCloud Backup is the ideal method. This cloud-based solution allows you to create a backup of all information on iCloud and restore it onto another device with relative ease. In order for this service to work properly, make sure there’s an updated version saved in Apple’s system along with steady internet connection capabilities. Users should take advantage of the “Prepare for New iPhone” feature offered by Apple, which gives free storage space online (for 21 days) when transferring contents from an older gadget into newer versions of iphone/device.
Creating an iCloud Backup
Before you transfer data to your new iPhone, make sure you have created a recent iCloud backup of the old device. To do this:
- Open Settings and select your name.
- Select “iCloud” and then choose “iCloud Backup”.
- Tap on “Back Up Now” for initiating the process of making a copy all existing information in case something goes wrong during transfer to new smartphone .
Take into account that backing up an iPhone might need from 100-150 MB storage space depending on variety & quantity of apps installed on it ; double check if there is enough memory available in iCLoud before starting.
Restoring Backup on New iPhone
When you have the most recent iCloud backup, restoring it to your new iPhone is easy. During the setup process, choose “Restore from iCloud Backup” and enter your Apple ID for successful data transfer. Selecting a previous backup of your old phone will complete this procedure that takes approximately 15 minutes to be ready for use afterward. To make sure everything moves smoothly with apps already installed on the device, verify sign-in details once logged in after restoration from an iCloud back up by Apple’s servers.
Transferring Data with a Computer: Mac and PC Solutions

Transferring data between iPhones can be done using a computer, both Mac and Windows have suitable solutions. On macOS, the Finder app is used for secure transmission of personal info as well as purchased content to new devices. For those on Windows, iTunes will provide an efficient solution enabling effortless transfer of information from one device to another. All these programs guarantee seamless migration of any kind of digital data with no chance it could get lost or corrupted in transit when moved over to your new phone.
Mac Users: Finder App Magic
The Finder app is a convenient way for Mac users to securely transfer data between iPhones. After connecting the two devices with Lightning cables, open the Finder window and back up your old iPhone on the computer. Restore this backup onto your new device – resulting in an effortless sharing of files, pictures as well as other media without any worries or issues. This allows you to move information from one phone to another safely and quickly!
Windows Users: iTunes to the Rescue
Using iTunes, Windows users can easily and securely move data from one iPhone to another. First, make sure you have the latest version of iTunes installed on your PC. Then connect both iPhones with their Lightning cables. After launching the software to back up your old phone, follow any instructions that appear on-screen in order to transfer its information over to your new device. It’s a smooth way for anyone transferring data from an older iPhone onto a newer one!
AirDrop: File-by-File Transfer
Transferring data between iPhones can be made more convenient with the help of AirDrop. It uses a Bluetooth and Wi-Fi connection to securely send individual files like pictures, documents or contacts cards directly from one device to another quickly. In this guide we will show you how easy it is to set up both devices for using AirDrop as well as the process involved in transferring your data easily.
Setting Up AirDrop
To configure AirDrop on your iPhone, go through the following steps:
- Open up Settings and select Screen Time
- Access Content & Privacy Restrictions
- Enable Allowed Apps to make sure that AirDrop is set up correctly
Both devices must have iOS 7 or higher in order for this feature to be available. IPhone 5 or later as well as iPad 4th generation onwards are able to use it.
Once you’ve enabled both phones with these settings, sharing files will no longer require cables nor internet connections!
Sharing Files
Using AirDrop to share files between iPhones is an easy process. Here’s how:
- Open the application with your desired documents you wish to send out and tap on ‘Share’.
- Pick AirDrop from available options for sharing media, photographs etc .
- A list of devices located in vicinity which have enabled Airdrop will pop up. Select one iPhone that you want the file shared with accordingly!
For multiple transfers at a time, take these measures:
1 Select several items by swiping left or right while pressing down Share button then pick Airdrop as method option after reviewing all those chosen files e g photos videos pieces of text and other multimedia content too!
Ensuring Digital Safety: Clearing Old iPhone Data

It is important for one to securely transfer data between iPhones while also preserving digital safety by erasing old iPhone information before making the switch to a new device. This not only optimizes storage space but also guards confidential details from being exposed without permission.The following parts will show you how to preserve essential files on your aged iPhone and perform a factory reset in order to clear out all personal details.
Backing Up Essential Data
Before resetting your device, make sure to preserve essential information. Your contacts, calendars, notes, pictures, and app data as well as settings should be secured before wiping out the iPhone’s existing content. A successful restoration procedure requires you knowing how to tap restore when needed.
Backing up such important elements can easily be done by iCloud or connecting it with a Mac computer using Finder for convenience sake. Whichever is more comfortable for yourself ensuring security of those details still existent within the gadget at all times in case any failure occurs during erasure process or if deletion was made unintentionally. To fully guarantee that no loss will transpire while recreating its stored information regularly back them up including messages notification tones too.
Performing a Factory Reset
Resetting an older iPhone is a crucial step for keeping your digital security and defending personal privacy. Doing so completely deletes all data associated with you, rendering it impossible to gain access to private files after the reset has been completed.
Prior to resetting, be sure that critical information was saved elsewhere in order not to suffer any losses of important details. This will ensure that everything remains safe and secure without risk of compromise or leakage.
Summary
Transferring data from an old iPhone to a new one has never been simpler. With the use of such tools as Quick Start, iCloud Backup, Finder app (for Mac users), iTunes (for Windows users) and AirDrop – securely moving data between devices is easier than ever before! All you need to do now is take advantage of these resources in order to ensure your digital safety while keeping your information private when transferring it onto your brand-new device.
Frequently Asked Questions
How do I transfer everything from my old iPhone to my new iPhone?
To move all your content from the old iPhone to a new one, first create an iCloud backup of the older phone. Once you turn on and set up your new device, during its setup process choose ‘Restore from iCloud Backup’ and sign in with your Apple ID. Then select which previously made smartphone backup should be used for restoring data into it.
How do you sync your iPhone with your iPhone?
To make sure your iPhones are synced, ensure that both phones are logged in with the same Apple ID. In Settings on each device, go to the profile for this Apple ID and turn on toggle switches for data you wish to sync. Then select ‘Merge’. Be sure to keep your devices connected via Wi-Fi until all of the synchronization is finished.
How do I transfer my non working iPhone to my new iPhone?
If you need to move data from a non-functional iPhone to your new device, Apple Support offers step-by-step guidelines for completing the transfer. It’s possible with iCloud backups or by recovering files directly - either way can be done using iTunes/Finder or an existing backup of information stored on another device. By following their instructions, users are able to conveniently and securely migrate data between iPhones without difficulty.
Can I transfer data between iPhones using a computer?
It is possible to transfer data between iPhones with the help of a computer, be it Windows or Mac. Transferring this information requires no more than just connecting both devices to the same PC and allowing them access to secure data.
Is AirDrop a suitable method for transferring individual files between iPhones?
AirDrop is an excellent choice for quickly transferring individual files such as images, documents and contact cards between iPhones. It allows users to easily share the desired information with no difficulty at all.