Effortless Guide: How to Jump Start a Car and Get Back on the Road
Imagine yourself stranded on the side of the road with a dead car battery. The sinking feeling of helplessness is something no one wants to experience. But what if you could confidently jump-start your car and get back on the road in no time? Equipping yourself with the knowledge on how to jump start a car can save you from lengthy waits and unnecessary frustration. In this blog post, you’ll learn the step-by-step process to jump-start a car, essential items for your trunk, safety checks, and maintaining your car battery.
Key Takeaways
- Equip your car with a jump start kit for successful jump-starts.
- Identify the battery terminals and connect jumper cables carefully to avoid damage or injury.
- Follow post-jump procedures, troubleshoot when necessary, and maintain your car battery regularly to extend its life.
Essential Items for Your Trunk: The Jump Start Kit
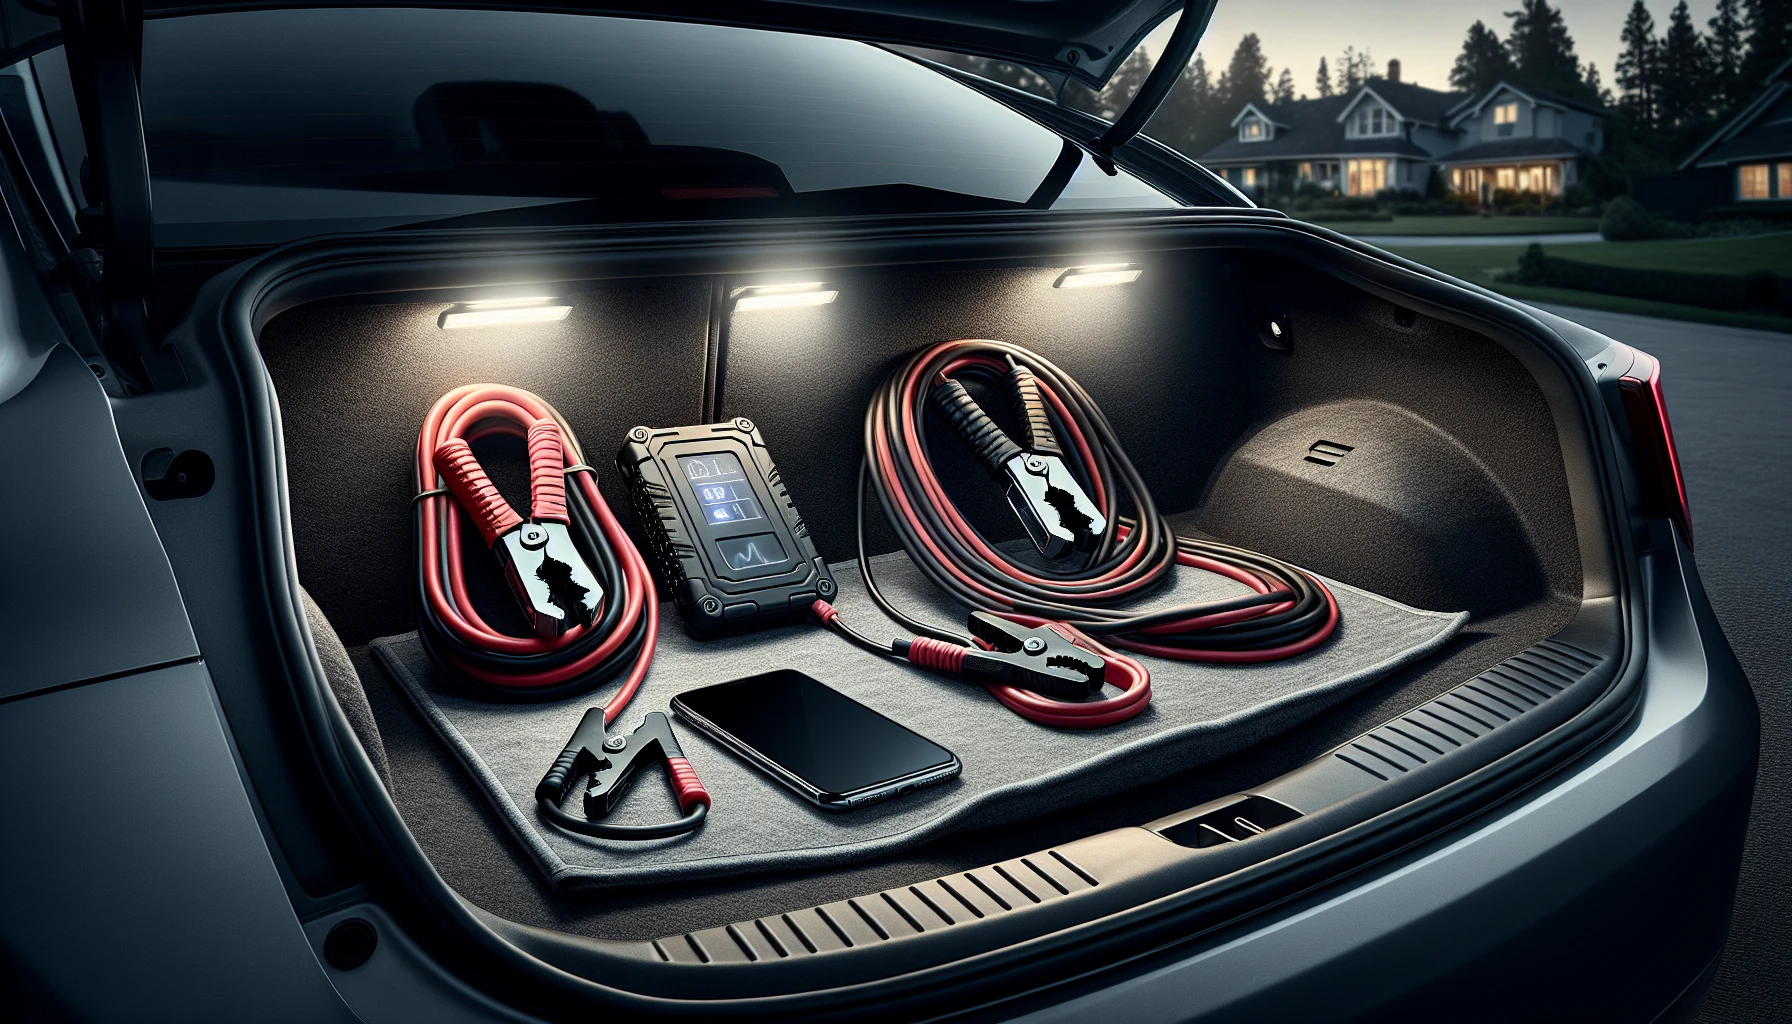
Having a jump start kit in the trunk of your car can help avoid getting stranded due to a dead battery. Essential items for this kit include jumper cables, portable jump starter, phone and emergency roadside service. To successfully complete the process of jumping-starting with these tools requires proper positioning of both cars. One should set up parking brakes for each vehicle while turning off all accessories like lights, radio, etc., then connect the two batteries through their respective jumper cables carefully as indicated by instructions from owner’s manual if attempting on hybrid cars to protect against potential damage that power surges may cause vehicles. Becoming familiarized with how it is done will save time spent being stranded and provide assurance ahead when traveling away from home.
Pre-Jump Safety Checks
Safety is of the utmost importance when trying to jump start a car. Following some pre-jump safety checks can ensure that you are able to do so successfully and without risk. Start by turning off both vehicles’ ignitions, then engaging their parking brakes for stability while conducting your jump. Make sure the cars are parked close together but not touching. This ensures jumper cables will be able to reach between them with no potential damage caused in trying, from either vehicle’s engine or frame coming into contact during starting procedures.
Before any actual jumping process begins, double check all battery cable connections on each respective vehicle - they should be free from wear or visible corrosion before continuing with instructions! As well, make sure there aren’t any combustible materials nearby prior to beginning as another means of prevention against harm being done through ignition due to an improper setup since these may ignite fires if too close proximity within scenarios such as this one described here above mentioned happenings. Connecting jumper cables onto unpainted metal parts of engines/frames helps protect paint jobs which might otherwise melt under additional force given during jumps hence comes strongly recommended once again for those wishing success (for arounds sake). Finally see that working battery placement position makes it suitable nearness wise reconnection back along side receiving batteries ideal open spot place too soon enough following must come performed then end result desired obviously.
Identifying Car Battery Terminals
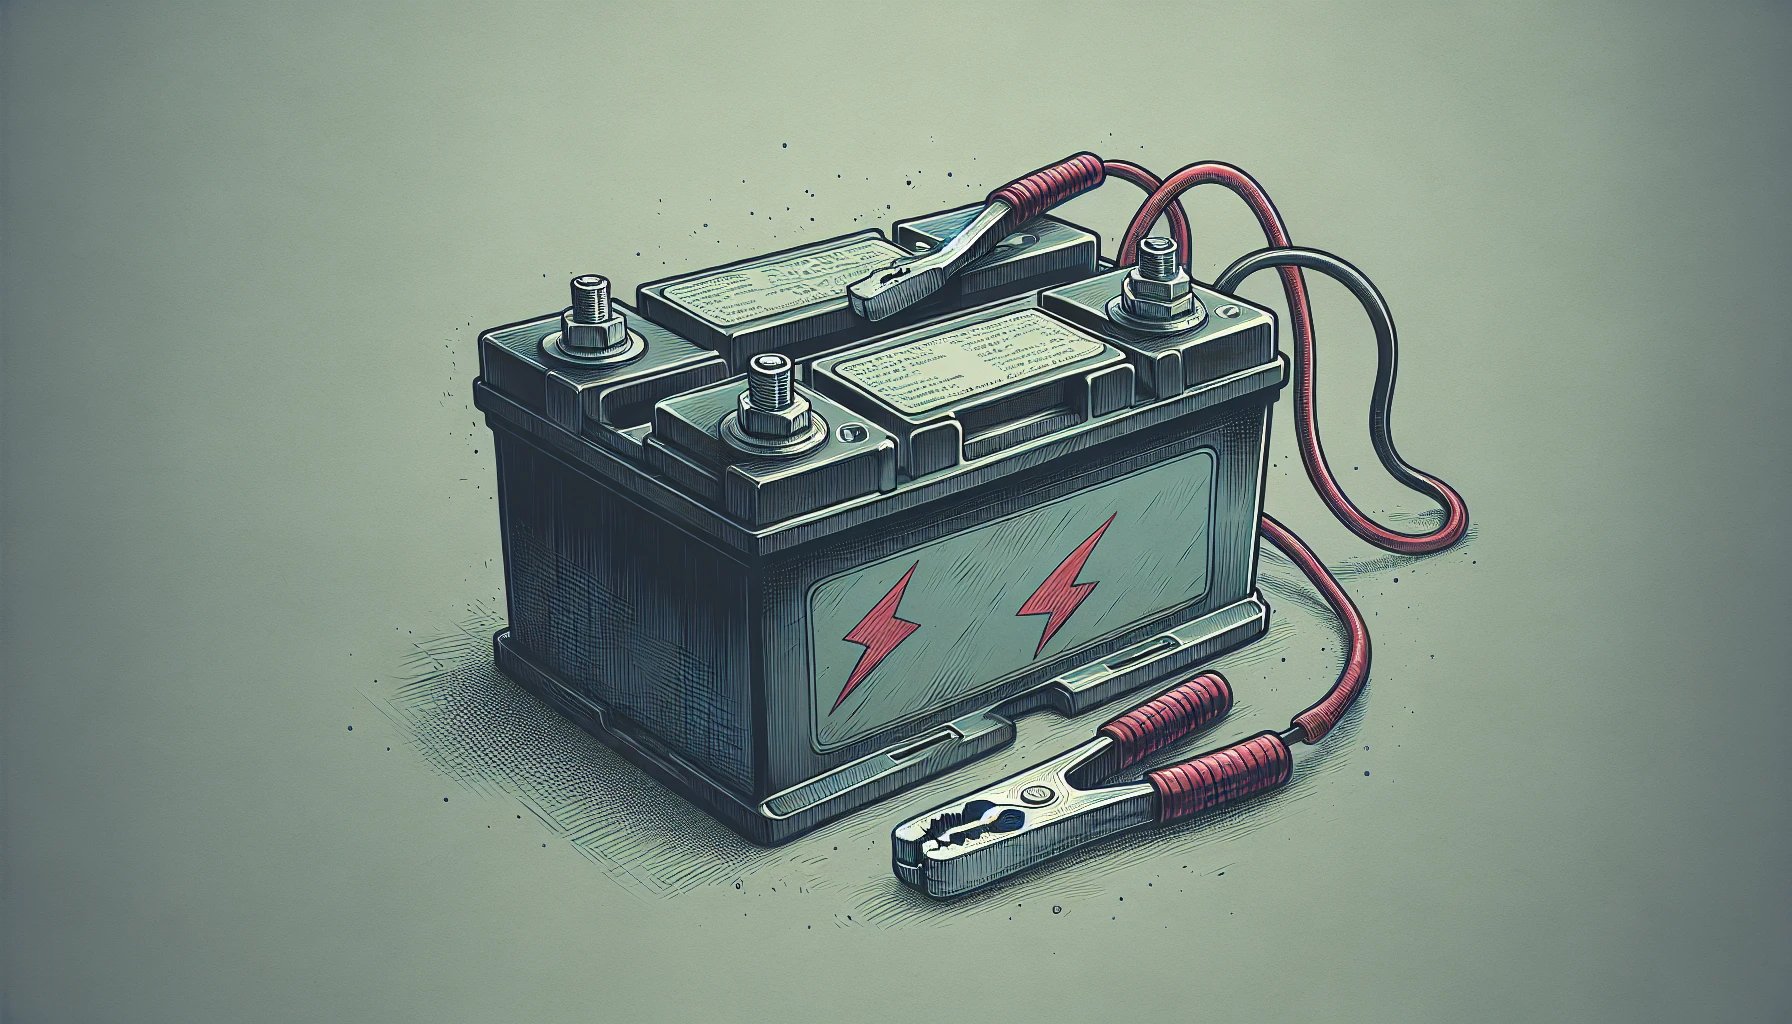
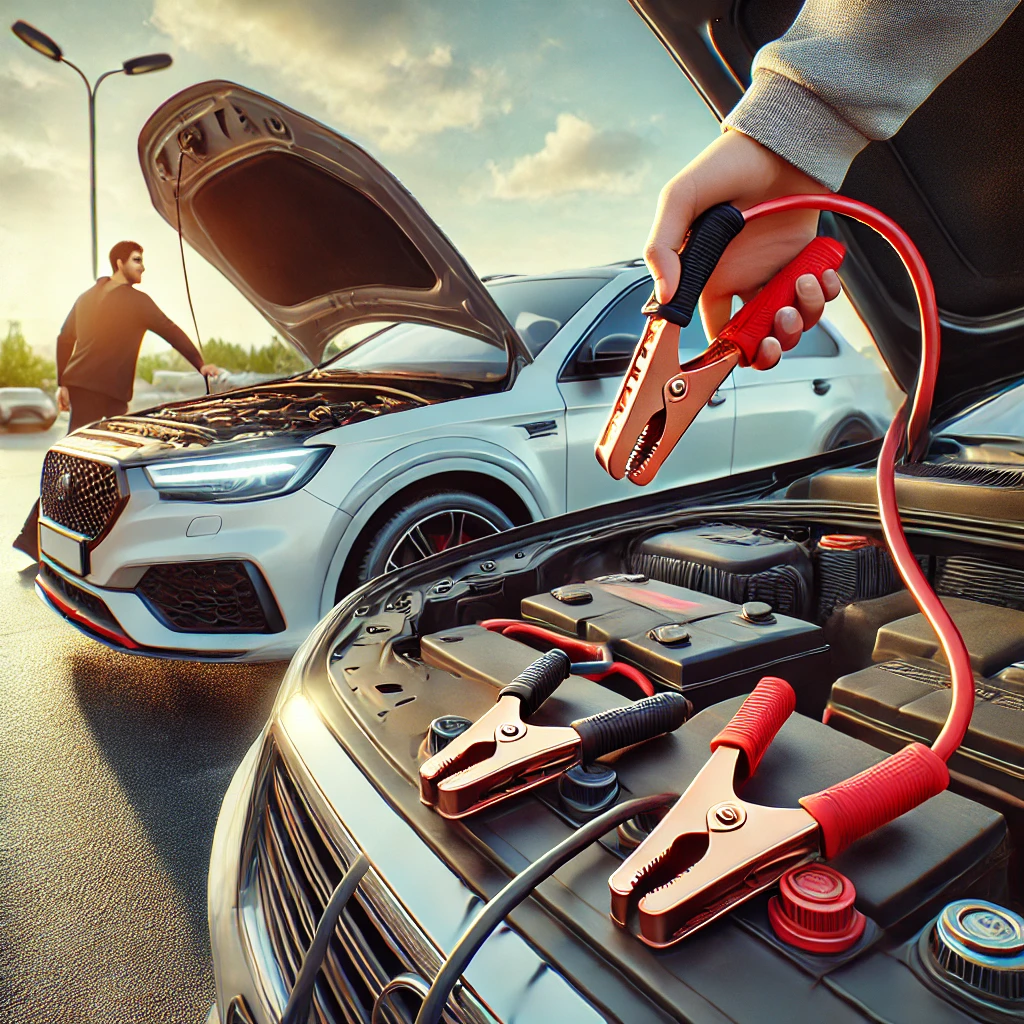
Understanding the polarity of car battery terminals is essential prior to initiating a jump start. Recognizing these ports correctly avoids any safety issues and ensures that jumping the cars runs smoothly. The positive terminal can be indicated by a plus (+) symbol while the negative has been assigned as minus (-). Jump cables are marked in two distinct hues: red for positive, and black representing negative. To commence with this process, both hoods should be opened up firstly so you are able to easily locate all batteries from your own automobile along with booster vehicle then associate jumper cords accordingly based on their specific colours. Knowing such distinctions eliminates guesswork making it easier to connect them properly thus reducing time wasted when trying to get back behind the wheel quickly afterwards.
Connecting Jumper Cables with Precision
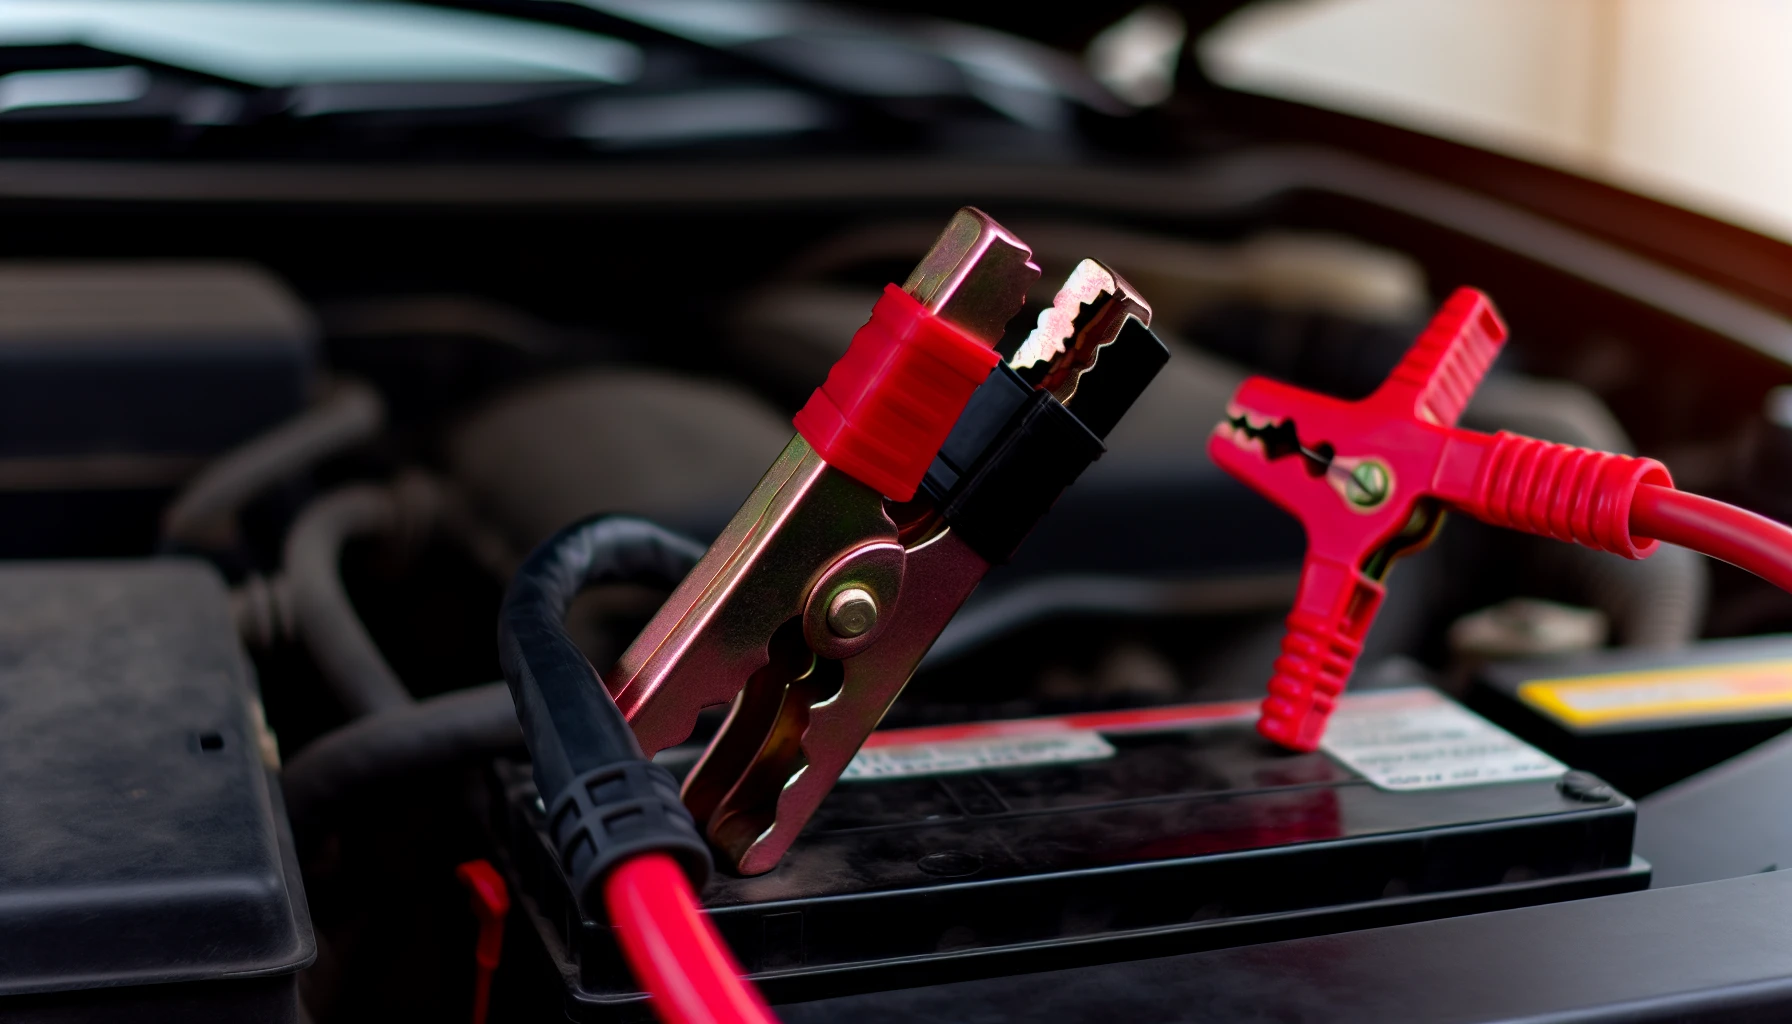
In order to ensure safety and prevent any hazardous situations, the connection of jumper cables must be done correctly. To do so, follow these instructions: First attach the red (+) clamp to the positive terminal of a discharged battery. Then hook up this same cable with another working car’s corresponding battery port. Secure one end of the black (-) cord onto an unbolted metal part in or near your dead vehicle while connecting its other extremity into place.
Before beginning jump start procedures it is paramount that all cables are fully extended without knots or tangles for if wrong connections between terminals from different batteries are made there can occur sparks which cause electric shocks perilous for people around them.
The Right Order Matters
The jumper cables must be correctly connected in order to avoid any harm or injury. If the cable connections are done incorrectly, an electric current can flow backwards and cause damage to both cars’ electrical systems- this may lead to fires or explosions that could hurt people as well as create more issues for the automobiles involved. Damage due to incorrect connecting of cables includes burnt fuses, broken wires possibly leading up to a fire, overheating batteries leaking acid and causing them unusable altogether. All of these constitute serious risks, which is why correct jumper cable connection is vital when dealing with two vehicles’ battery system requirements.
Initiating the Jump Start Process
To kick off the jump start process, begin by switching on the booster car. Then try to start up the dead vehicle. When done correctly, both cars should be functioning smoothly. It’s recommended that you drive each of them for at least a half hour during this phase in order for the alternator to recharge its weak battery and also give time for engine warm-up of revived auto. Without completing this stage, it could result in not having sufficient power from that same tired out battery when attempting again later.
If even after these steps your inactive automobile still won’t function as desired then check connections one more time before deciding on replacing it or calling an expert technician repairman who can help solve any existing problem with your dying car’s declining energy source (battery).
Post-Jump Procedures: Ensuring Success

To ensure a safe process of disconnection, the reverse order should be followed when removing jumper cables from both cars. Start by unclasping the black clamp from the grounded metal section on the dead car’s engine and then remove it from its positive terminal too. Do similarly with respect to red clamps, firstly release them off their good battery before releasing them away from that in your defunct automobile as well.
After all jumping efforts have been concluded, continue running or even better drive for around fifteen minutes so that the alternator has time enough to recharge batteries of both vehicles assuring easier start-up without any complications later down the line.
Troubleshooting: When the Car Doesn't Start
After a jump start attempt, it’s possible that the car still may not be starting despite your best efforts. To identify what is causing this issue and to repair the problem accordingly, troubleshooting should occur immediately. It could possibly indicate either defective jumper cables or an irreparably damaged battery due to loosened terminals or corrosion build up on them, these are common reasons for cars not engaging after such attempts have been made. Inspections can even look out for other potential sources like a worn-out alternator as well as clogged fuel filters and starter motors problems too. These would require specialized intervention if needed which is why professionals must replace/repair those components when necessary.
On top of all that evidence gathering mentioned above, there’s several telltale symptoms one can spot in order assess whether it truly has something wrong with its car battery: dimming headlights upon ignition / slow engine cranking noise / clicking sound from trying to engage motor functions etc plus needing some gas pedal assistance just so you might get going properly – keep track of whatever behavior changes take place throughout since they will heavily influence any final decisions taken thereafter regarding replacing & repairs among others hereabouts!
Maintaining Your Car Battery
If you have ever had to jump-start your car, proper battery maintenance can help prevent this from happening again and increase the lifespan of the batteries. Typically, these power sources last five years on average though some higher-end ones may go as long as ten. Typical signs that a car’s battery is not working optimally are an engine crank which starts slowly, having difficulty starting up the vehicle itself, dim headlights or any clicking sound while turning in keys and needing more regular jumps for it to start running properly. When experiencing such issues, replacement becomes necessary. To elongate its life, one must be mindful about checking regularly for indications of distress, keeping connections clean all around including terminals’ upkeep along with their secure fastening, if there persists no charge left after efforts then investing in another might become inevitable, Calling technicians over could bring resolution too should additional servicing remain needed.
Summary
Being able to jump start your car is an incredibly useful skill that can help you out when the battery has died. To have everything necessary on hand, keep items such as jumper cables in the trunk and take all safety measures while connecting them. This way, if a dead battery situation arises again, you’ll be prepared with knowledge of how to get back on track by easily starting up your vehicle using these tools. Also remember to maintain regular check-ups for your car’s battery so it can last longer and prevent any issues from arising!
Frequently Asked Questions
What is the order for jumping a car?
Connect the red clamp to the positive terminal of the dead battery, and then attach another red one onto a working car’s positive post. Then clip on a black clamp to the negative side of said battery and lastly connect it with an unpainted metal part in your vehicle. This is all necessary for successfully jump starting your car.
Which jumper cable goes on first?
For optimal safety, the red jumper cable should always be connected first; start by clamping one red cable to the positive side of the battery that won’t start, then attach the other red clamp to the positive side of the working battery, before connecting the black cable to the negative side of the working battery.
How long do you have to leave jumper cables on?
Leave the jumper cables connected for approximately five minutes. If your car still doesn’t start after five minutes, leave them on for up to 30 minutes in extremely cold temperatures.
Allow both vehicles to run for three minutes before disconnecting the cables and keep the jump-started vehicle’s engine running for a half hour to fully recharge the battery.
What are the essential items for a jump start kit?
For added security, a jump start kit should contain jumper cables, along with a portable battery-powered unit and some form of emergency roadside assistance. This set up provides the essentials for giving your car an immediate boost if it runs out of juice - just attach the battery.
How do I identify the positive and negative terminals on a car battery?
On a car battery, one can determine the positive and negative terminals by noting that the plus (+) symbol indicates which is the positive terminal while minus (-) represents its counterpart, negative.