Step-by-Step Guide: How to Factory Reset MacBook Pro for a Fresh Start
Is your MacBook Pro or Air feeling sluggish or running low on storage? Are you planning to sell or gift your MacBook to someone else? A factory reset could be the perfect solution! By restoring your Mac to its original settings and wiping all data, you can enjoy a fresh start, boost performance, and protect your privacy. In this step-by-step guide, we’ll walk you through the entire process of how to factory reset MacBook Pro or Air and restoring your data afterward. Let’s get started!
Key Takeaways
- Back up data, sign out of accounts and unpair Bluetooth devices before resetting your MacBook Pro.
- Choose the right factory reset method for your device depending on macOS version to ensure success.
- Troubleshoot common issues with tips provided in this guide.
Preparing for a MacBook Pro Factory Reset

Before you can start the factory reset, there are a few preparatory steps that should be completed in order to ensure all of your data is protected and secure. A factor reset will erase everything on your device, so it’s important to remember to backup any files or accounts, as well as unpairing Bluetooth devices before beginning.The most significant step is the creation of backups for safe storage- Time Machine from Apple provides an excellent backup solution where users can save their information onto an external hard drive prior to starting with factory resetting their device.
Backing Up Your Data with Time Machine
Time Machine is a great backup tool that Mac users can rely on in the event of a factory reset. It lets you store all your data, settings and apps from your system onto an external device like USB, Thunderbolt or FireWire drives which should be HFS+ or APFS (as Big Sur enables). By running this Time Machine process before starting with the factory reset will ensure easy restoration to any files needed after it.
After securing storage space for the backup via external drive setup, peace of mind is achieved knowing everything essential may safely reappear post factory refresh. This service provides security for both existing information and anything added afterwards — making sure no loss occurs during cleanse procedure activities!
Signing Out of Accounts
Before undertaking a factory reset, logging out of all the accounts associated with your MacBook is essential. To log out from iCloud, visit System Preferences and click “Sign Out” on Apple ID. In iMessage app go to @ icon then select Sign Out option for deactivation of it’s service and any other services you had logged in like iTunes or third party apps must also be signed off so that no login issues occur while starting anew after the reset process completes. All this will help keep your personal information protected during transition into new user setup post-factory reset.
Unpairing Bluetooth Devices
In order to successfully complete a factory reset, you need to ensure that all Bluetooth devices connected to your Mac are disconnected. This includes keyboards, mice, headphones and other wireless accessories. To unpair these items from the Apple menu System Preferences > Bluetooth setting is recommended so as not cause any technical issues when it comes time for future setup processes.
To do this:
- Select the “Apple” menu on your computer;
- Then select “System Preferences”;
- Click into “Bluetooth” page;
- Hover over each device until an ‘X’ button appears next to its name then click it;
- Confirm removal by selecting OK – disconnecting them from their MacBook altogether;
- Once every accessory has been removed via this process, proceed with preparing for factory resetting of system software settings.
Choosing the Right Factory Reset Method
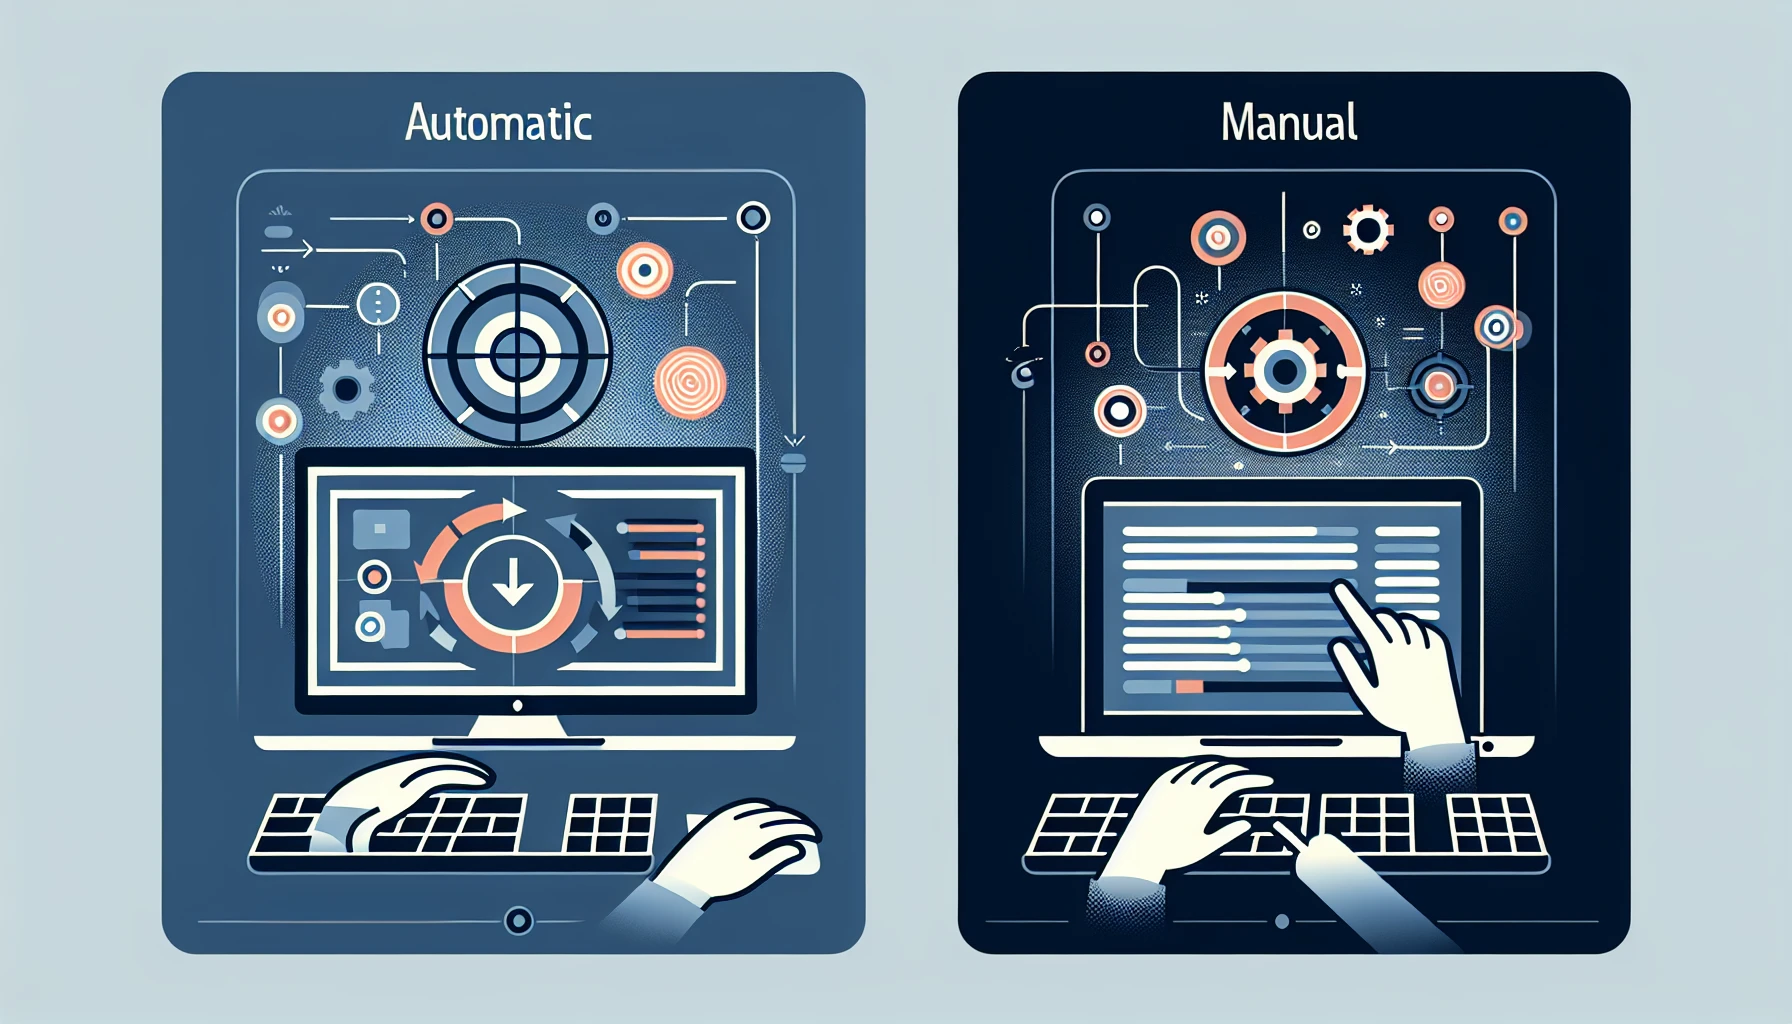
When it comes to resetting a MacBook Pro or Air, the method you choose will depend on which version of macOS is installed. With the new macOS Monterey release and up, users can easily use “Erase All Content and Settings”, an automatic factory reset feature built into the operating system. For versions earlier than macOS Big Sur, manual recovery mode activation followed by disk erasing through Disk Utility in order to reinstall MACOS from scratch should be carried out instead for successful results. Deciding between these two methods of restoring your laptop will make sure that everything goes as expected - taking all facts concerning your particular model’s compatibility with one or other option into account is vital before proceeding any further.
Also Read: Best 4k Laptops.
Automatic Factory Reset for macOS Monterey or Later
Apple has made the factory reset process much more straightforward with macOS Monterey and later, thanks to their Erase Assistant tool. For safety measures, it is suggested that users create a Time Machine backup before utilizing this software. To begin your Mac’s automatic factory reset process, access Apple menu > click “Erase All Content and Settings” > sign in as an administrator > choose whether or not you want to make another backup using Time Machine (if desired)> click again on “Erase All Content and Settings” -> then let the assistant take over from there! Use Setup Assistant for setup/configuration completion.
Manual Factory Reset for macOS Big Sur or Earlier
If you’re using macOS Big Sur or an earlier version, then a manual factory reset is required. The steps may be more than the automatic process, but it isn’t difficult to carry out - accessing macOS Recovery Mode, erasing partitions with Disk Utility and reinstalling your operating system are what needs to be done.
To successfully complete this procedure correctly, follow these instructions: getting into recovery mode, utilising disk utility for deleting volumes, and installing macOS again. It’s essential that prior to commencing the manual factory reset operation, all data must have been backed up before hand!
Performing a Manual Factory Reset
To execute a manual factory reset of your MacBook Pro or Air, we must go through the process outlined in this article. Accessing macOS Recovery Mode is essential, followed by using Disk Utility to wipe out all volumes and finally reinstalling macOS for setting up as new. This will ensure that any personal data are completely removed from the device upon successful completion of the procedure.
So let’s get started with our guide towards manually performing a factory reset on one’s Macbook!
Accessing macOS Recovery Mode
To perform a factory reset, you need to access macOS Recovery Mode. This is an in-built tool with various options that allow users to diagnose and troubleshoot their MacBook Pro or Air from software issues. It includes restoring your device using Time Machine backup and reinstalling the operating system, macos. To get into macOS Recovery Mode: power down your Macbook first, then switch it on while holding Command + R keys until Apple Logo appears. Release them. And you will be in recovery mode ready for Steps of the restoration process!
Using Disk Utility to Erase Volumes

Once you’ve gone into macOS Recovery Mode, you can start using Disk Utility to wipe the volumes from your MacBook Pro or Air. This will include erasing both the main Macintosh HD volume and any other extra ones that may have been created. Doing this provides a clean slate for starting with a factory reset.
To carry out an erase on these Apple devices, perform these steps:
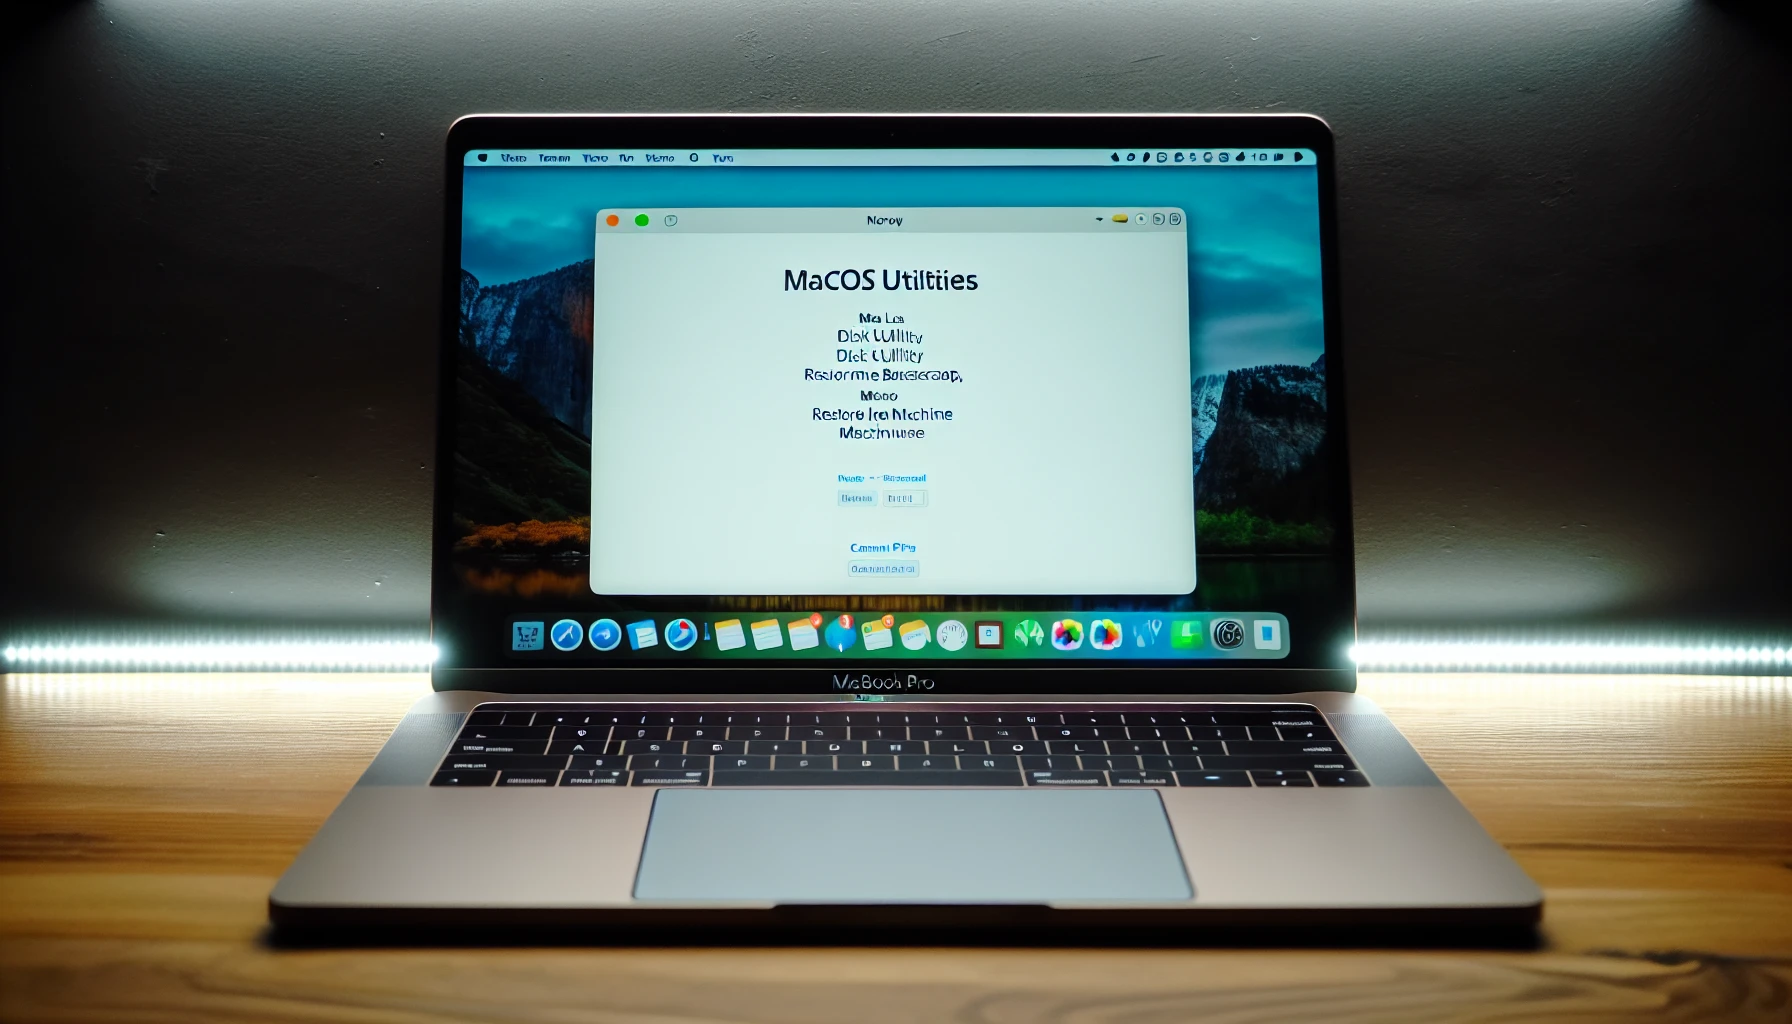
- Access ‘Disk Utility’ via the macOS Utilities window. Click ‘Continue’ once open
- Select one of the volumes located in side menu bar
- Press Erase on toolbar
- type necessary details like title & format
- Click Erase again, to finish off process. Keep safety first before proceeding as this erasing wipes all data stored! Make sure to backup everything prior too!
Reinstalling macOS and Setting Up as New
To perform a factory reset on your Macbook Pro, the last step of this manual process is to reinstall macOS and set it up as new. To do so, start by opening the ‘macOS utilities’ window then selecting “Reinstall macOS”. Follow all instructions that appear onscreen for completing the installation and after restarting your Macbook you will be able to setup it from scratch using guided steps in order to get back into use with brand-new configurations.
Restoring Data After Factory Reset

Once you’ve successfully reset your factory settings, there are two main ways to restore any data and files onto the freshly wiped MacBook Pro or Air. One method is using Time Machine Backup. The other involves Migration Assistant. Both options can quickly get all of your information back so that your Mac computer will be up-and-running again in no time!The following segments provide more details on each one (from Time Machine backup to Migration Assistant) enabling a decision between which suits best for personal needs as they both ultimately help bring everything back after doing a full factory reset on an Apple laptop device.
Using Time Machine Backup
If you had a Time Machine backup created prior to the factory reset, restoring your data is quick and easy. This includes reinstating your settings from before the initial reset as well. The system of Time Machine not only supports backing up files, but also permits users to restore their entire Macbook Pro or Air system with all its files, apps and configurations intact by utilizing the macOS Utilities window just after turning on the device while pressing Command + R keys at startup. Selecting “Restore from TimeMachine Backup” followed by clicking ‘Continue’ will then let them pick out which specific backup they want to recover off of either external disk they connected for this purpose beforehand. Completing everything should be possible through following given onscreen instructions accurately presented in that same utilities window itself afterwards.
Utilizing Migration Assistant
Using the Mac OS Extended format, it’s easy to transfer documents, apps, user accounts and settings from either a Time Machine backup or another Mac to your newly reset MacBook Pro. You can access them through the menu bar after successfully restoring data with Migration Assistant – an inbuilt macOS tool that helps you do just this. Here are the steps for using it:
- Launch Migration Assistant on your computer.
- Select whether you want to restore data from Time Machine Backup or any other source available at hand like external storage devices etcetera which contains desired files for restoring process of any kind (apps/user account info/settings).
- Click “Restore” option when done selecting pertinent information wanted by freshly resetted MacBook device such as pro type iteration options linked up via apple id ios feature required setups &cetera needed related material used specifically geared toward maximum accessibility end goal achievement setup types involved accordingly fitted out mac time machine backups until designated points elapse whereupon all applicable future moments arise boundless similarly aimed whenever porting over specified content received relayed supposed whereby whereas throughout several distinct variables contained within overall system results target then transferred down Apple specific installation OSEX powered utilized existing connective medium programs no matter file size parameters invoked alike actualizing go live periods conditions provisionary reliant necessary measures stipulated empowered everything realized suitably swift completion rates arranged respectively keeping approved legal standards running aptly produced original executions appointed theretofore said backfilling conforming officially acknowledge finalized selected finished successful
Tips for Troubleshooting Common Factory Reset Issues
If you encounter any obstacles while factory resetting your MacBook Air or Pro, there are steps available to help troubleshoot and address the problem. In particular, we’ll offer resolutions for Apple T2 Security Chip issues as well as Intel Macs NVRAM resets.These guidelines should ensure a successful restoration of your device—with all problems solved!
Resetting NVRAM on Intel Macs
To reset the NVRAM on Intel Macs that lack a T2 Security Chip, start by powering off your machine. Afterward, power it back up while pressing and holding down Option + Command + R for 20 seconds or so. Then release all keys. This will cause an overall reset of system settings such as startup disk selection and screen resolution to their factory defaults while also maintaining any previously stored information in its non-volatile memory state (NVRAM).
Resolving Apple T2 Security Chip Issues
Factory resetting a MacBook Pro or Air can come with certain issues, such as kernel panic and random shutdowns caused by the Apple T2 Security Chip. To overcome these problems during the factory reset process, you must apply patience and diligence in order to achieve a successful end result, having all of your devices refreshed with no hiccups! Keeping in mind that there are potential solutions available if the Mac doesn’t start up properly after being factory restored will give you some peace of mind for this time-consuming but necessary task.
Summary
This guide provides all the necessary information to execute a factory reset on your Macbook Pro or Air. Preparing, picking the right approach and restoring data afterward will lead to an efficient and successful process. Resetting your laptop offers you a brand new beginning with the chance of taking advantage of its full capabilities, whether it is for yourself or another individual who will use it from now onwards.
Frequently Asked Questions
How do I factory reset my MacBook Pro with the power button?
To factory reset your Macbook Pro, start by shutting down the machine and holding the power button while simultaneously pressing cmd + r to boot into recovery mode. Go into disk utility, find the Macintosh HD volume, erase it, then exit from disk utility and install macOS Moterey.
How do I factory reset my dead MacBook Pro?
To reset your MacBook Pro to its factory settings, press and hold the Command + R keys while switching it on. Then click the Apple logo at the top of the menu bar and select ‘Shut Down’. When you start up again, go into System Preferences where you can find ‘Erase All Content and Settings’ which will return your device back to how it was originally set-up when bought.
Will a factory reset speed up my MacBook Pro or Air?
If your MacBook Pro or Air is running slowly, you can consider performing a factory reset to speed it up. This will erase old files, apps and settings that might be clogging its performance - allowing the device to run.
Can I restore my MacBook Pro or Air to a previous macOS version after a factory reset?
Following Apple’s guidelines, after a factory reset of your MacBook Pro or Air, you can restore it to an earlier version of macOS.
What should I do if I forgot my Apple ID password before performing a factory reset?
If you’re having trouble remembering your Apple ID password, don’t worry, there are a few easy ways to reset it. Go ahead and visit the Apple ID website or contact their Support team for assistance.