Quick Guide: How to Connect AirPods to MacBook Effortlessly
Say goodbye to tangled wires and unlock the true potential of your AirPods by connecting them with ease to your MacBook. This post is dedicated towards teaching you how, adjusting audio settings, and switching between Apple products seamlessly.
Begin experiencing wireless freedom like never before as we walk through quick steps on how to connect AirPods with a Macbook, ensuring compatibility along the way while taking care of any common connection issues!
Key Takeaways
- Quickly connect any AirPods model to a MacBook for wireless audio.
- Ensure compatibility with your Mac’s operating system and adjust settings for optimal use.
- Troubleshoot common connection issues, customize features, and keep AirPods up-to-date with the latest firmware.
Quick Steps to Connect Your AirPods
Connecting your AirPods to a MacBook is an easy three-step process. After opening the connection gateway, you engage with the case of your AirPods and complete pairing them up. Allowing for wireless audio streaming from any generation (be it first or Pro models) hassle free on a Macbook device.To get started in connecting either variant of Apple’s earbuds to their laptop computers, users should follow this guide carefully as it will ensure efficient linking without complications or frustrations associated with many other Bluetooth accessories setup processes.
Opening the Connection Gateway
To link your AirPods to Mac, begin by accessing the Bluetooth Settings. You can find this option on Apple Menu under System Preferences and then click it for enabling the connection of other devices with bluetooth ability.Ready up those earbuds now so you can get them connected quickly! For that purpose, just make sure they are discoverable via Bluetooth technology in order to pair with any enabled device like a Mac or laptop from Apple brand.
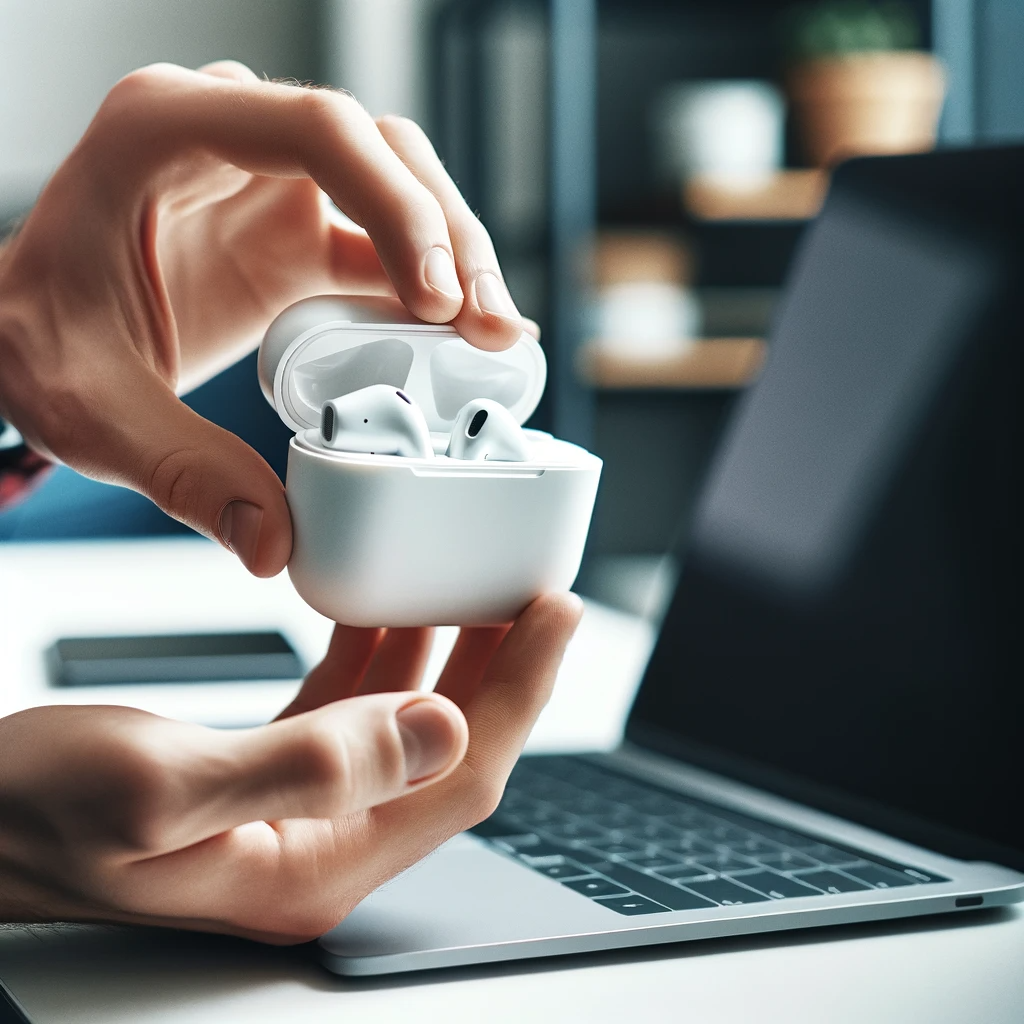
Engaging with the AirPods Case
Open the lid of your charging case and press and hold down the setup button on its back. When you see the status light begin to flash, this will signify that your AirPods are in pairing mode ready for connection with a Mac device.
Finalizing the Pairing
Once you choose your AirPods from the range of Bluetooth devices visible on your Mac’s settings, click ‘Connect’ to begin pairing. It should only take a few seconds for this process and then you can start listening with high-quality audio through the MacBook.
Ensuring Compatibility with Your Mac
In order to use your AirPods, we must make sure that the operating system of your MacBook is compatible with the model. Different generations of AirPods have different macOS requirements. For example, a 2nd generation requires Mojave 10.14.4 or later while Pro (1st gen) needs Catalina 10.15x and onward as minimums respectively. To figure out whether you meet these criteria, it’s essential to determine what version of OSX has been installed on a Macbook and if it matches up with type/model of current setup, i.e., verifying compatibility between laptop & earphones models through respective versions before being able to take advantage of them properly!
Identifying Your Mac's Operating System
The Apple logo situated at the top left corner of your computer screen can be clicked to reveal information about your Mac’s current operating system version. Select ‘About This Mac’ and a window will open, displaying which macOS is running. You may use this knowledge to verify whether or not AirPods are compatible with your machine.
AirPods and macOS Compatibility
To ensure your AirPods are compatible with your Mac computer, consult the requirements of its operating system. If it is not suitable for these earphones, consider upgrading to a newer version like macOS Big Sur or Monterey to make sure they work optimally. This way you can enjoy excellent audio quality on this machine without any issues!
Adjusting Mac Audio Settings for AirPods
Once you have connected your AirPods to the Macbook, it is important that you alter the sound preferences on your Apple computer so as to be able to make use of these headphones. This enables any audio produced by the laptop equipment to then go through these wireless earphones for a much more captivating experience when listening.
Let’s take a look at how one can configure their machine’s acoustic settings and set up their AirPods as its default output device.
Navigating to Sound Preferences
From the menu bar at the top of your screen, select the Apple logo in order to open up System Preferences. From there click on Sound and you will have access to audio settings such as input/output devices along with volume control options.
Setting AirPods as the Default Output Device
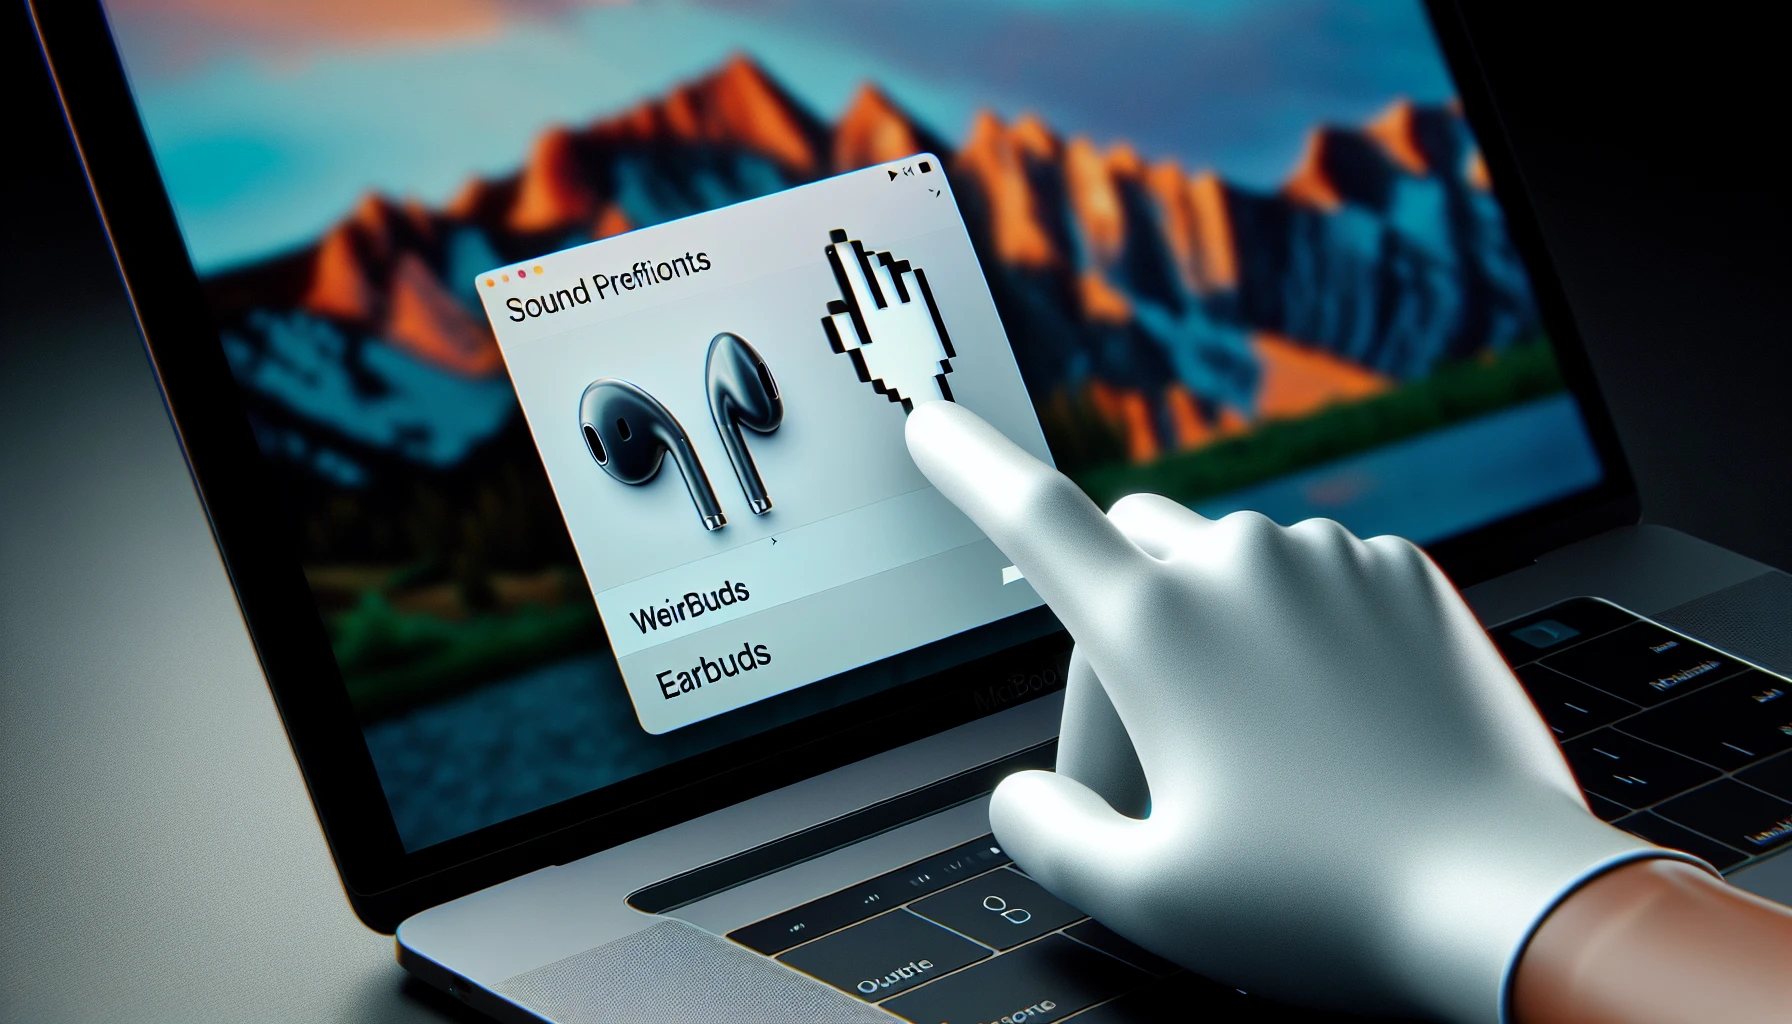
In the Sound settings, you can choose your AirPods as the output device, allowing all audio from your MacBook to play wirelessly and conveniently through them. To do this simply go to Output tab in Preferences menu and select AirPods from list of devices. Making it your default choice for sound output.
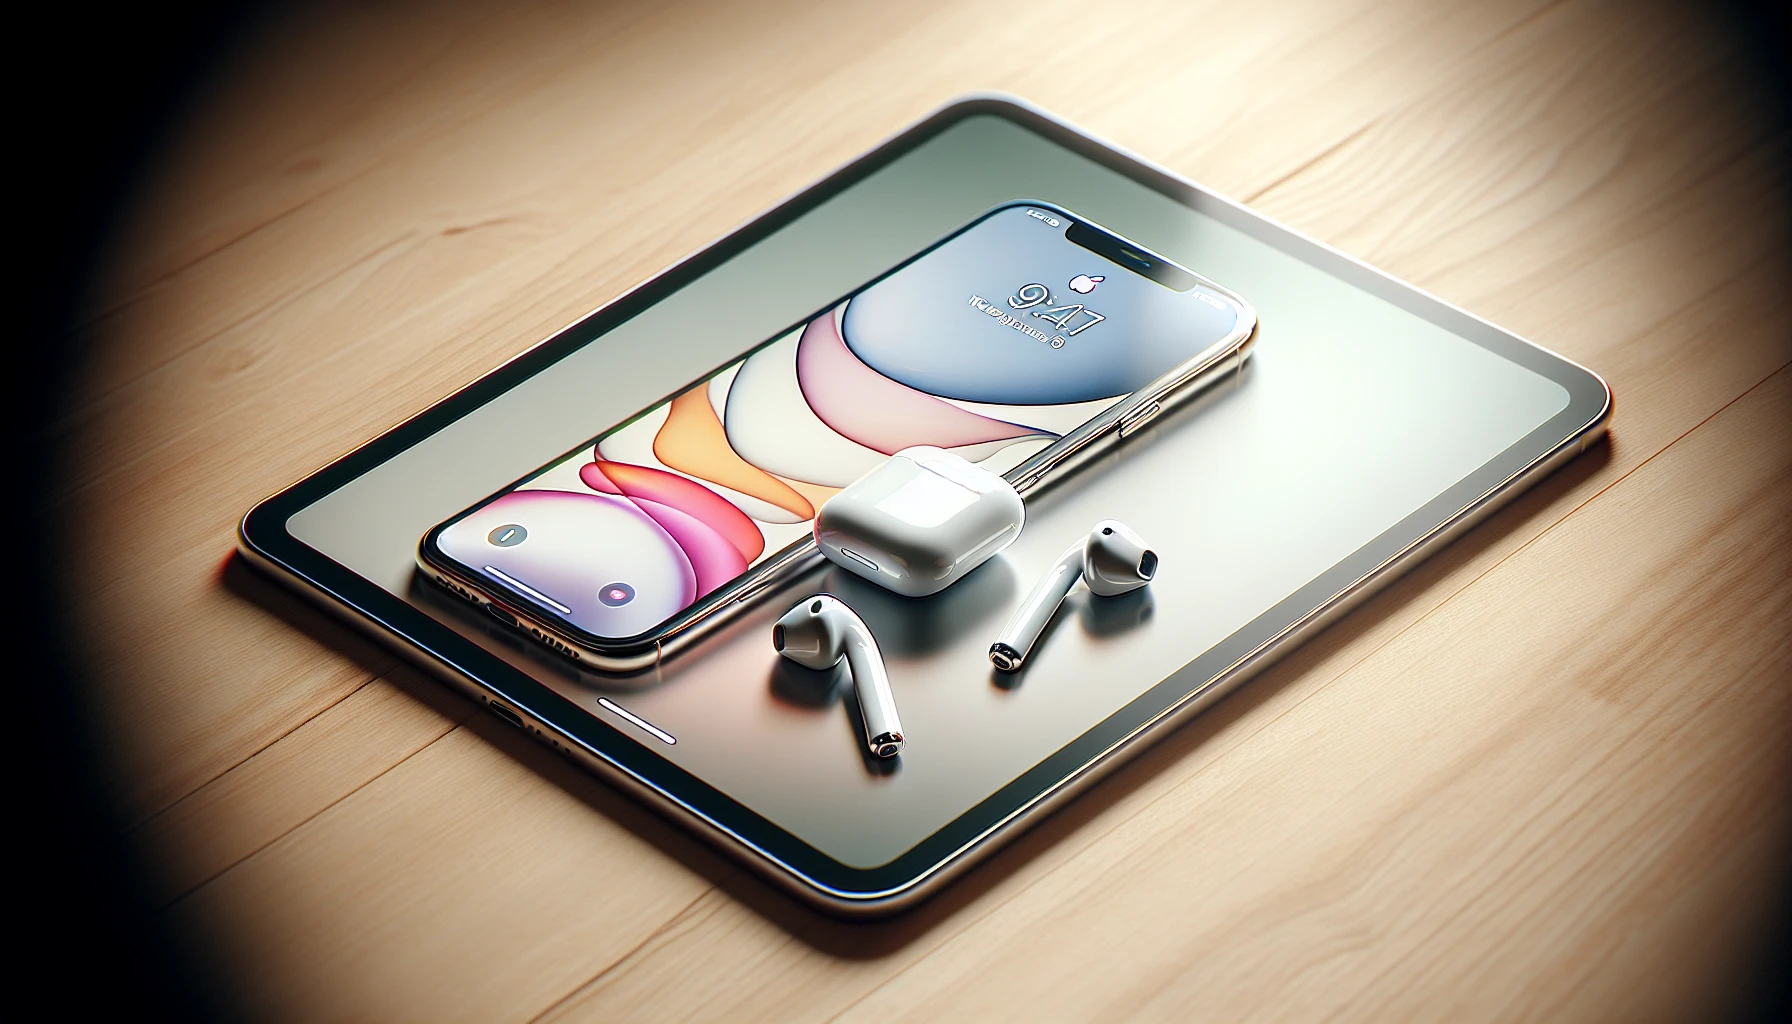
Switching AirPods Between Apple Devices
One of the most useful aspects that AirPods can offer is their ability to easily switch between Apple devices logged in with a single Apple ID. This means without having to go through the trouble of reconnecting, you have an effortless transition from playing music on your iPhone then watching videos on your MacBook.
In this part we shall explain how automatic switching works and what steps should be taken in order for optimal device-switching management when it comes to using these AirPods connected by the same apple account and across various different iphone or macbook devices.
Understanding Automatic Switching
AirPods will be able to switch between different Apple devices that are linked together with the same iCloud account without disruption thanks to automatic switching. All of these gadgets must have the same Apple ID for it to work properly, enabling users to move from device-to-device without ever having to manually change their AirPods connections. This feature makes for a much more seamless experience overall since there is no need for any extra effort on behalf of those using multiple compatible Apple products in conjunction with one another.
Managing AirPods Connection Preferences
To provide a seamless transition between Apple devices, it’s important to set up your AirPods connection preferences correctly. To do this:
- Access Bluetooth settings on your Mac while the earbuds are still in-ear.
- Click Options beside them in the list of available devices and select ‘Connect to This Mac’.
3 Make sure ‘When Last Connected to This Mac’ is checked for optimal device switching performance when using different Apple gadgets with one another via Bluetooth connectivity or related technology. By organizing these preferences you can guarantee that transferring from one connected item will be smooth sailing!
Troubleshooting Common AirPods Connection Issues

Having trouble connecting your AirPods to a MacBook? We have some suggestions on how you can get back up and running with no interruptions. Firstly, we will look at resolving charging problems as well as any Bluetooth difficulties that may occur. Lastly, the solution for resetting your Airpods is included too!
So let’s dive into tips addressing power issues plus what to do if there are connectivity hiccups between the Apple product and its wireless audio capabilities. The guidance offered here should help with getting everything reconnected properly again quickly and easily so you don’t miss out on an uninterrupted sound experience through using these great headphones!
Resolving Charging and Power Problems
If your AirPods are not charging or powering up, you may need to check the condition of their charging case and make sure it has enough charge. Also be mindful of any dirt or debris on the AirPods that can prevent them from working properly. If this fails to fix the issue, then resetting them could help, but for more assistance contact Apple support.
Addressing Bluetooth Hiccups
If you’re encountering issues with connecting your AirPods to your MacBook via Bluetooth, try these troubleshooting steps: switch off and on the Bluetooth feature of your Mac. If it still doesn’t work, reset its module. Then try a factory setting for the Pods. If none works out, contact Apple support for Help.
Resetting Your AirPods
If you’re having trouble with your AirPods, resetting them may fix the issue. To begin this process, press and hold the setup button on the charging case for 15 seconds until it’s completely reset back to factory settings. Close its lid, this will stop any other devices from connecting automatically via iCloud account. Try reconnecting them now to your MacBook and see if it works better than before!
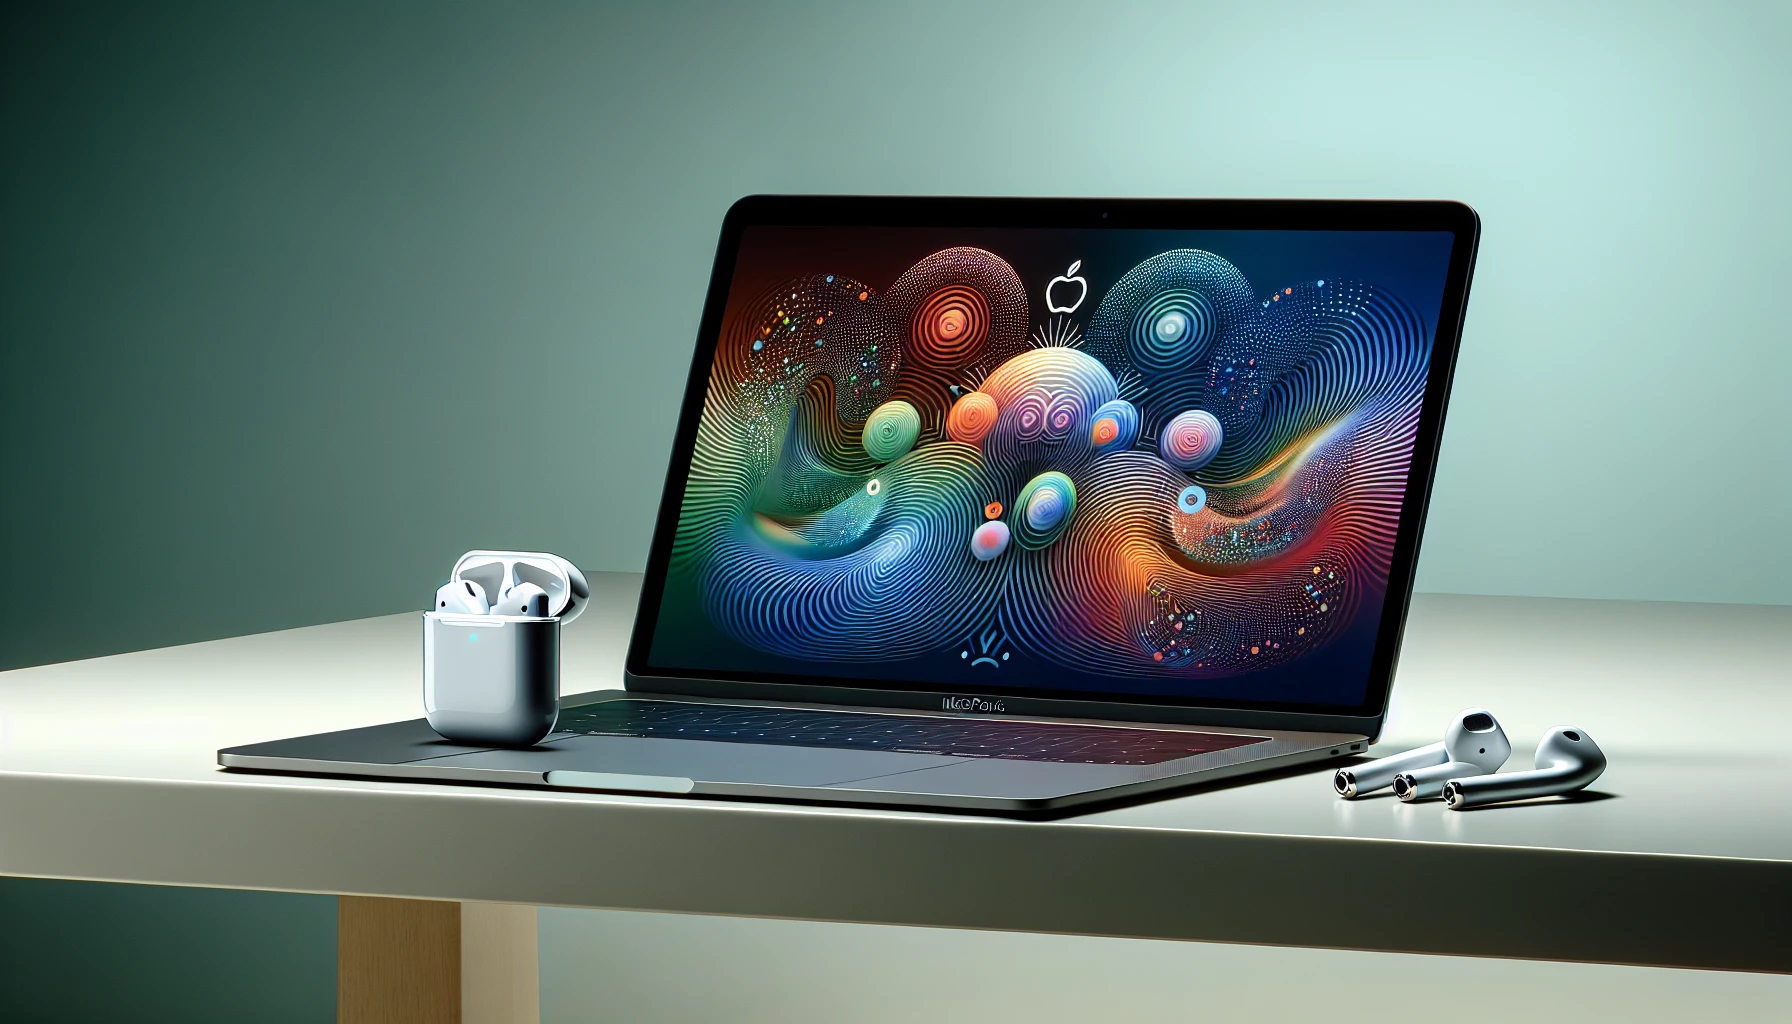
Additional Tips for Optimal AirPods Use
Once your AirPods have been successfully paired to your MacBook and any connection problems are solved, it’s time to optimize their use. Here, we will give additional advice for successful use of the Airpods. From customizing features according to preference for a tailored listening experience as well as keeping them updated with current firmware so that they perform at their best.
With this guidance in mind, you can alter the settings on your AirPods to personalize audio levels while ensuring optimal performance through regular updates.
Customizing AirPods Features
If you want to make your AirPods uniquely yours, then check out the various customization options available. Through Bluetooth settings on an iPhone or iPad (Settings > Bluetooth), users can access customizable features such as double-tap functions and audio accessibility preferences for their AirPods. You could set a double-tap action in order to play/pause music, skip tracks, or activate Siri quickly without any effort.
Keeping Your AirPods Updated
In order to guarantee the optimal functionality of your AirPods, it is critical that they be kept updated with the latest firmware. For this purpose, you can check if updates are available by following these steps: Start on your iOS device and proceed to General > About – here will be listed the current version of your AirPods’ software so that should one become accessible you will automatically receive a prompt for installation.By consistently keeping up-to-date with their airpods’ versions, users can ensure maximum performance as well as continued compatibility between both their devices and most recent operating systems.
Summary
In conclusion, connecting your AirPods to your MacBook is a simple process that provides a seamless wireless audio experience. With this guide, you’ve learned the quick steps to connect your AirPods, ensure compatibility, adjust audio settings, and switch between Apple devices. Additionally, we’ve covered troubleshooting tips for common connection issues and shared additional tips for customizing features and keeping your AirPods updated.Embrace the freedom of wireless audio with your AirPods and MacBook, and enjoy an incredible, immersive listening experience tailored just for you.
Frequently Asked Questions
Why can't my AirPods Connect to my Mac?
Make sure your AirPods are powered, Bluetooth is enabled and your Mac is up-to-date. Check the charging case and restart your Mac computer to reset the Bluetooth connection.If that doesn’t help, switch off and then on again the Bluetooth toggle in the Control Center icon.
How do I Connect my AirPods to laptop?
To link your AirPods to a laptop, open the case and press the button on its back until you see the status light flashing in white. Then access Settings from Start Menu to go into Bluetooth & Devices section, select Add device option, pick out ‘Bluetooth’ and finish making connection with your AirPods.
Can AirPods connect to non-Apple devices?
AirPods can be connected to any device that has Bluetooth capabilities, regardless of the manufacturer. This is true for all Apple products as well as other devices, which enables users to take advantage of their AirPods with virtually any electronic item.
How do I check my Mac's operating system version?
To check your Mac’s operating system version, click on the Apple icon at the top left corner of your screen and select ‘About This Mac’.
Is it possible to switch AirPods between Apple devices automatically?
Using the same Apple ID, it is possible to seamlessly transfer AirPods between various Apple devices. This makes switching from one device to another effortless and straightforward.