Effortless Sync: Learn How to Connect AirPods to iPhone in Simple Steps
Connecting AirPods to your iPhone is a simple and straightforward process that will allow you to maximize the capabilities of this impressive Apple technology. All it takes is a few steps, which we’ll explain in detail here. Once set up with your device, these wireless earbuds guarantee no-hassle listening experiences every time you use them across all of your devices!
Key Takeaways
- Learn how to easily connect AirPods of all generations with an iPhone.
- Activate ‘Hey Siri’ and customize controls for a personalized audio experience.
- Maintain connection stability by avoiding interference from other Bluetooth devices and updating your AirPods’ firmware regularly.
Step-by-Step Guide to Pairing Your AirPods with an iPhone
Connecting AirPods to your iPhone is incredibly simple thanks to Apple’s user-friendly design. You don’t have to spend time trying out complicated setup processes or untangling cords. The entire procedure can be done within a few moments. To successfully pair your AirPods (including Pro and Max models) with an iPhone device, all that’s necessary is three steps: turn on Bluetooth for both devices, bring the case of the earphones close to the phone and select ‘connect’ once prompted by notification.
This guide is suitable no matter what type of users you may fall under (whether novice or experienced in terms usage) which will allow seamless audio playback experience from music tracks/podcasts/calls without any interruptions!
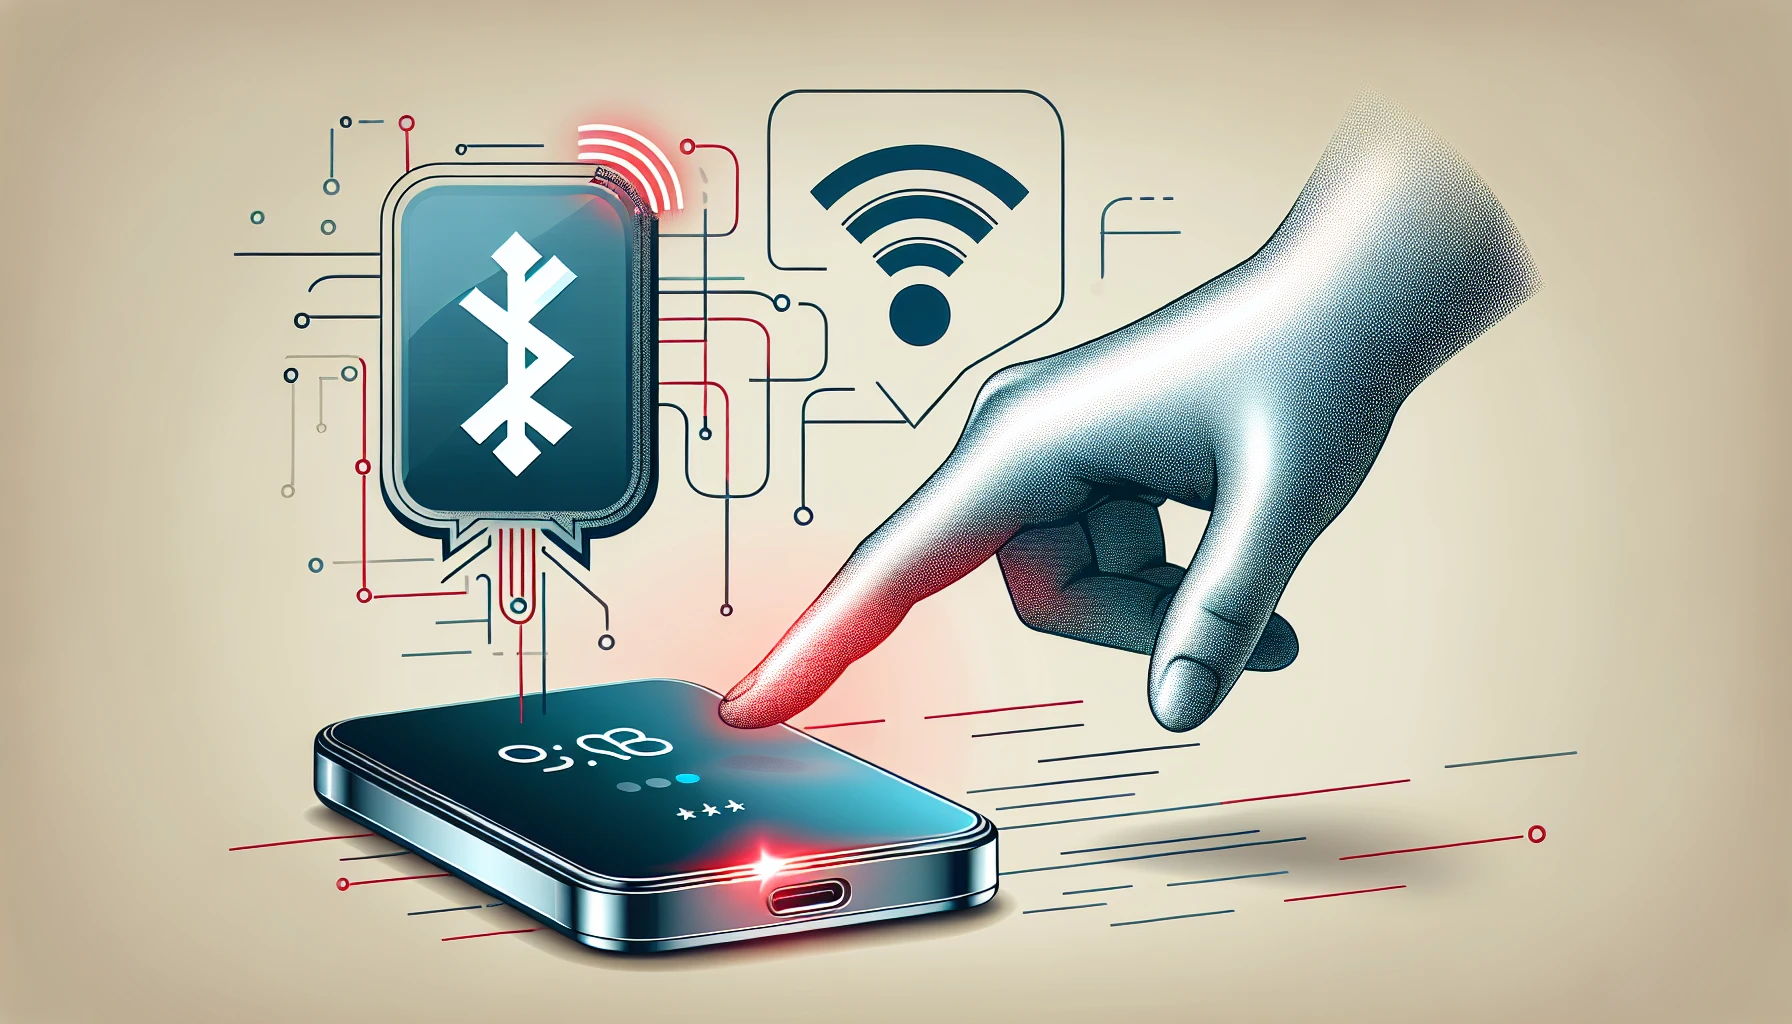
Ensure Bluetooth is Enabled on Your iPhone
To connect your AirPods to an iPhone, it is essential that Bluetooth be switched on. This can easily be done by navigating the Settings menu and ensuring the toggle for Bluetooth is in “on” mode. It’s even simpler still as you are able to use Control Center of your device which allows you to quickly enable or disable visibility with just a few taps. This helps reduce issues such as detection problems while pairing, lack of sound output or malfunctions during usage with regards to wireless audio functions. The activation of Bluetooth prioritizes connection success between smartphones and these earbuds so make sure when using them they have been correctly associated via their settings!
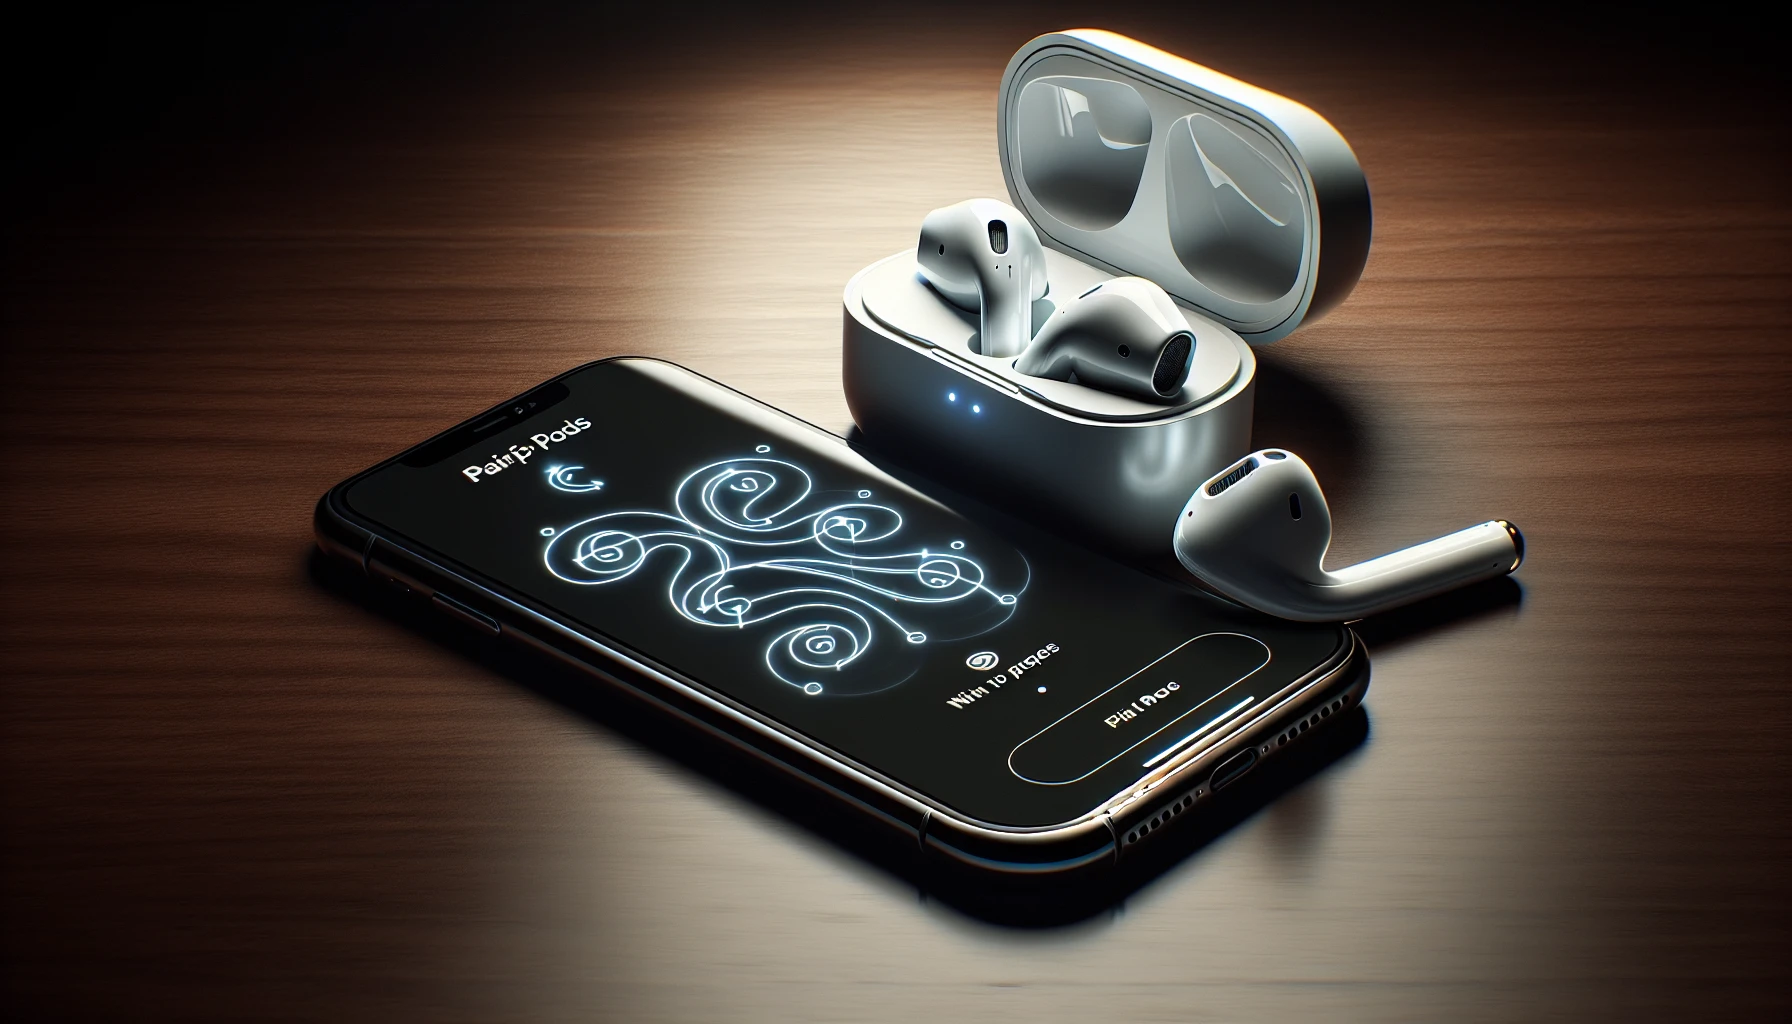
Opening the AirPods Case Near Your iPhone
Navigate to the iPhone’s home screen and open the AirPods charging case, keeping it near your device. This will activate the pairing process, which is indicated by a pop-up card appearing on your phone showing how charged up your AirPods are, no Action from you is required! Close proximity of both gadgets initiates connection between them, displaying information about their charge status in an easy viewable way.
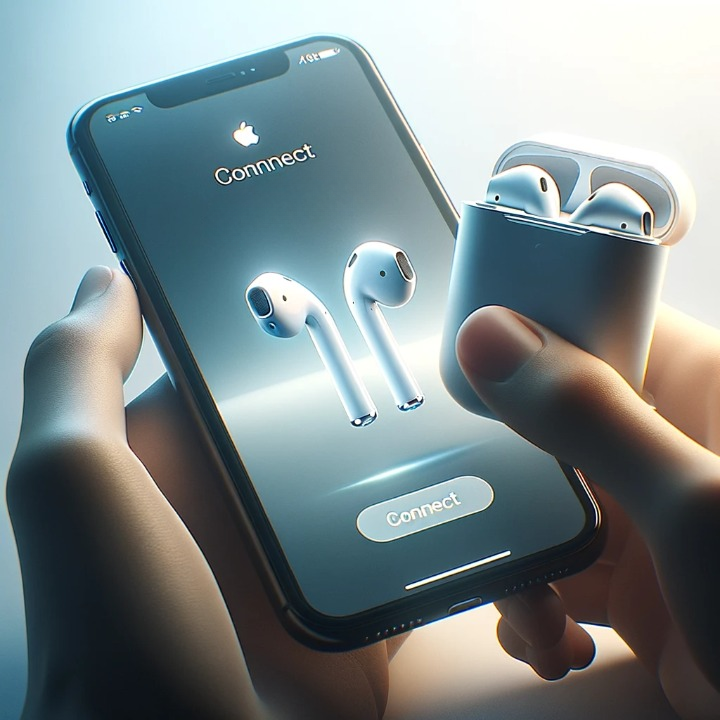
Tap 'Connect' on the Pop-Up Card
To establish a connection between your AirPods and iPhone, you need to tap the ‘Connect’ button that will appear on the pop-up card after setting them up. Once done, this action should let you enjoy hassle free wireless audio provided by your new device.In case it’s not functioning as expected, try signing out from an Apple ID/iCloud account. To restart your phone before logging back into the same accounts again - following which tapping ‘connect’ would ensure seamless pairing of AirPods with Apple hardware.
Troubleshooting Connection Issues
Having difficulty connecting your AirPods to your iPhone? Don’t worry. We have you covered. We’ll discuss two common connection issues—namely, the status light flashing white and manual Bluetooth settings linking for Apple devices. Knowing how to fix these problems will allow you quickly resume listening to audio through your AirPods with ease.
Remember that most difficulties can be fixed by following simple troubleshooting steps provided in this post. If they are not successful, then contacting Apple Support is a great way of getting Help on the situation without any hassle whatsoever!
What to Do When the Status Light Flashes White
The status light on your AirPods will flash white if it is ready to establish a connection. This visual indication means that the device is in pairing mode and waiting for an iPhone or other compatible device to link up with. If you don’t manage to complete the automated process, then refer below for instructions on how you can manually connect them instead. Keep in mind that when this flashing occurs all should be well - there’s no need to feel anxious about what it could mean!
Manually Connect AirPods in Bluetooth Settings
If the automated link process fails, you can still connect your AirPods to your iPhone manually. To do this, go into Settings > Bluetooth and make sure it is enabled. From there, look for your AirPods in the list of devices then tap on ‘Connect’ to start a manual connection. This technique may help solve some common problems like if Airpods fail to establish an automatic connection, lack of audio output or reduced performance such as difficulty pairing up with the phone.
Connecting Different Generations of AirPods
Regardless of what AirPods model you have - be it the original, Pro, or Max - connecting them to your iPhone is an easy and straightforward process. It’s important to know which version of AirPods you possess though. Some features may vary between models. This guide will help with identification as well as provide instructions specifically for linking up the newest generation: The Airpods Max.
By recognizing small differences in various types of Apple earbuds, users can take advantage of their specific device’s capabilities without any headaches. Having a grasp on how different generations interact with iPhones makes upgrading easier too! Plus, if friends need assistance pairing their own headphones, one would already know exactly where they’re starting from due to prior knowledge gained through this tutorial!
Identifying Your AirPods Generation
To determine which version of AirPods you have, begin by accessing the Settings app on your iPhone or iPad. Under Bluetooth, locate your paired device and tap the ‘i’ next to its name to see the model number. Alternatively, resetting them can be done by pressing down on the back of their case for 10-20 seconds. If a setup animation appears, a setup animation appears. It will help confirm what type they are so that all features may be taken advantage of.
Pairing AirPods Max with Your iPhone
To connect your AirPods Max to the iPhone, ensure that Bluetooth is activated on your device and follow these easy steps. Open up the smart case of the headphones, position them close to your phone, then tap “Connect” when prompted by a pop-up card from the screen. Your AirPods. Max will be connected in no time giving you an exceptional audio experience!
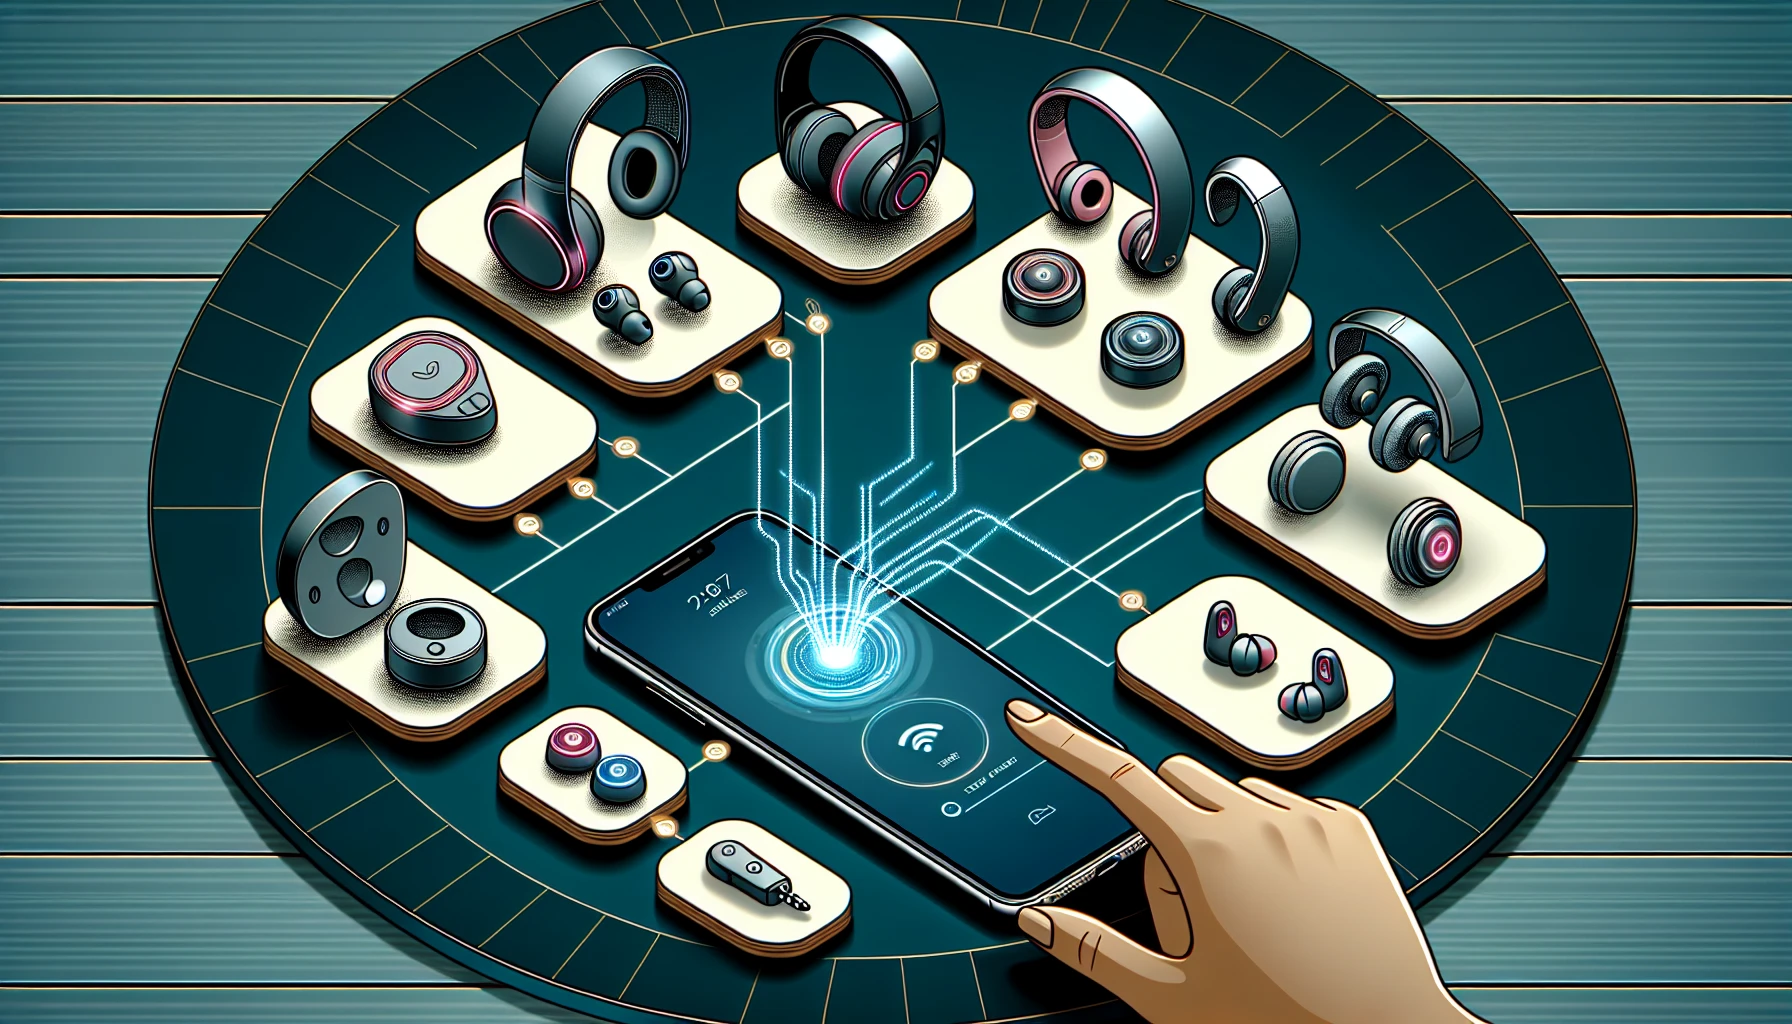
Using AirPods with Multiple Apple Devices
When it comes to AirPods, their seamless connection with multiple Apple products is one of the main attractions. Users who have an iPhone, iPad, Mac or Apple Watch can effortlessly switch between devices without having to pair them each time manually, this process will be covered shortly in terms of both automated and manual methods. The ability to shift seamlessly from any given device that belongs within the same family (including when using an Apple TV) means a heightened user experience while being able to appreciate your AirPods at maximum power. Whether you’re streaming something on your iPad, listening through your iPhone’s audio settings or getting into calls via a connected Apple Watch – these headphones always stay switched-on for all activities across every compatible platform.
Automatic Switching Between Devices
Automatic switching allows your Apple AirPods to easily switch between all of the devices that are linked under a single iCloud account. With this feature, you can enjoy audio from various sources without having to manually go through any steps.For automatic switching with compatible devices (AirPods 2nd gen or later). Pro 1st generation or later) users need: iOS 14+ on their iPhones. IPadOS 14+ for iPads. MacOS Big Sur and watchOS 7 for an Apple Watch - along with Bluetooth being enabled as well as signing in using one’s individual iCloud account across all these mentioned devices by Apple.
Manual Switching via Control Center
If you want to switch from one apple device to another, then you can do this easily. The options for making the change are located within your iPhone or iPad’s Control Center, Apple Menu on Mac devices and Volume/Bluetooth settings also work well with Macs.Pair Airpods need to be in pairing mode as well as in range of whatever device it is connecting too, which makes switching between them easier. To manually connect your AirPods using the control center feature found on an iPhone, open up the app. Tap onto audio playback controls (small music note icon); choose among available audio gadgets - pick out those pesky airpods. And voila! It’ll now successfully be connected by that select gadget.
Advanced Features and Settings for AirPods
Your AirPods are packed with powerful features and settings that can give you a highly personalized listening experience. To make the most of them, two advanced functions should be kept in mind: activating ‘Hey Siri’ for voice control without using your hands and customizing controls according to your preferences. With these useful options enabled, you’ll have an easier time utilizing all the benefits of owning AirPods every day – whether it’s while running, taking public transport, or lounging around at home. Being able to simply speak up or press a few buttons instead will ensure each session is tailored precisely how you want it to be!
Activate 'Hey Siri' on Your AirPods
To get started with the convenient “Hey Siri” function on your AirPods, first head to Settings and enable Siri in ‘Siri & Search.’’ From there you can start using voice commands simply by saying “Hey Siri” when your Airpods are plugged into your iPhone. This makes controlling music playback, volume levels, phone calls and more effortless without ever needing to take out or touch up either device.
Customizing AirPods Controls
You can personalize the way you use your AirPods by customizing their control settings. Go to Bluetooth Settings on your iPhone, choose Your AirPods and tweak as desired - for example specify which action (such as playing a song or activating Siri) should be triggered with double-tap or press gestures.Having this level of adjustment means that you can customize how you listen so it’s always tailored to fit what works best for YOU!
Maintaining Your AirPods' Connection
Having a stable and reliable connection is key to taking advantage of your AirPods’ features. The following recommendations explain how to stay connected using two different approaches: avoiding interference from other Bluetooth devices as well as ensuring that the firmware for the AirPods is up-to-date. With these steps, you can guarantee an enjoyable sound experience regardless of where you go or what activities you do.Staying on top of maintaining your own connection with the Airpods will bring about seamless audio without any interruptions so that it never interrupts music, podcasts or phone calls.
Avoid Interference from Other Bluetooth Devices
To ensure that you can listen to your AirPods with a reliable connection, it’s wise to disconnect or turn off other Bluetooth devices near your iPhone and the earbuds. Doing this helps avoid any interference from outside sources so that only the AirPods receive communication from the phone via Bluetooth. By deactivating additional gadgets in close range of each device, you’ll be able enjoy music without experiencing continuous disruption in sound quality through their wireless link.
Keeping Your AirPods' Firmware Up-to-date
It’s essential to keep your AirPods up-to-date in order for a consistent connection. Updates are installed automatically when the software of your iPhone is upgraded, so make sure you check it regularly by going into Settings > General > Software Update. Doing this allows maximum efficiency and performance with no audio issues during use. Keeping both device and AirPods current will result in an optimal experience overall!
Summary
The connecting and using process of your AirPods with the iPhone is a convenient task. With this step-by-step guide, you can easily get it done by understanding how to connect them properly with other Apple devices as well as taking advantage of its features offered. Go ahead quickly and plug in those AirPods for an unbelievable experience listening wirelessly on all compatible Apple devices!
Frequently Asked Questions
Why are my AirPods not connecting to my iPhone?
Make sure to charge your AirPods and check that Bluetooth is enabled in the settings of your device. Ensure you have updated iOS/iPadOS on iPhone or iPad before attempting reconnection with AirPods, then reset it.
How do I pair my AirPods to my iPhone again?
To connect your AirPods to the iPhone, put them in their charging case and press and hold down the setup button located at the back. The status light should then flash white. After that, open up the lid near your phone for Instructions. Then tap ‘Done’ when it is done pairing successfully.
How do I put my AirPods in pairing mode?
To enable pairing mode with your AirPods, place them in the charging case and open it. Then press and hold down the setup button on its back until you see a white light from the status light. Finally click ‘Connect’ located next to your AirPods on Nearby Devices list.
How do I connect my AirPods to find my iPhone?
To link your AirPods to either an iPhone or Android device, start by launching the Settings app and tapping on your name followed by Find My. Activate that function for any of these devices then activate the option ‘Find my [device]’.
Ensure you’re able to find them whenever they are not active or disconnected with enabled ‘Find my network’ feature as well.
How do I enable Bluetooth on my iPhone?
On your iPhone, access the Settings app and locate Bluetooth, switch it on to enable this feature.