Easy Steps on How to Restore iPhone – Regain Your Data Quickly

When your most treasured data is gone from your iPhone, it can be a nightmare, but reliable solutions are available. Restoring an iPhone requires you to know which method works best for you. This guide provides all the information needed, such as iCloud and iTunes restoration using Finder or alternative restoration methods. We provide troubleshooting advice in case of any problems during the recovery process. All these instructions will have your phone back up and running correctly, with its stored content retrieved quickly!
Key Takeaways
- Understand the strengths and weaknesses of iCloud, iTunes, and Finder before restoring an iPhone.
- Create a backup using either iCloud, iTunes, or Finder to prepare for restoration.
- Troubleshoot common issues such as incomplete backups or stuck/slow processes with solutions provided in this article.
Understanding iPhone Restoration

Restoring your iPhone, iPad, or iPod device may be necessary if a regular system restart does not resolve an issue. Knowing which approach is best for restoring and recovering apps along with data from recent backups can make all the difference. There are three main methods to choose from - iCloud, iTunes, or Finder, each with its advantages and potential drawbacks. Using iCloud requires simply tapping to initiate restoration. Still, having to re-download any applications on there before, plus no message history nor current screen information will likely get saved during this process. In contrast, both local backup approaches via either iTunes or Finder offer reliable saving options that should enable successful backing up Even these do come with their pros and cons when thinking about performing restores on iPhones/iPads, etc.
Preparing Your Device for Restoration

Before restoring your iPhone, please ensure you have a backup of all the available data. Depending on OS and personal preference, one can opt for iCloud or local options such as iTunes/Finder. Both strategies offer advantages, like the convenience of iCloud with automatic encryption, but necessitate extra subscription fees if more storage space is required. Whereas Finder/iTunes allows backup locally onto the computer without requiring any subscriptions while guaranteeing enhanced security through a manual initiation process & encrypted safeguarding of data.
iCloud Backup
Accessing iCloud backup is easy. First, you must open Settings on your iPhone and press Apple ID, then choose ‘iCloud’ followed by ‘iCloud Backup.’ Ensure the feature is activated before checking if it was successful using the last backup date information provided. With 5 GB of storage space for backups offered by Apple’s cloud solution, this should suffice for most users in order to store their personal data securely.
Local Backup (iTunes/Finder)
To back up your iPhone data using a local backup, please ensure you have the latest version of iTunes installed on either your Windows PC or Mac running macOS Catalina.
For PCs with iTunes open: Connect the device to the computer via a USB cable and click ‘Back Up Now’ after selecting its icon in iTunes.
If using a Mac with Finder instead of Itunes: connect it to your machine, select its name in Finder’s sidebar, and choose ‘Backup all data on [device] to this Mac’ while ticking ‘Encrypt Local Backup.’ Entering an appropriate password is crucial for completion before hitting the ‘back up now’ button to start the process.
Restoring Your iPhone from an iCloud Backup

If you need to restore your iPhone, the best way is by creating an iCloud backup and resetting it to factory settings. During setup, you can select the backup that could take some time (anywhere from 1 to 4 hours per gigabyte). All of your data will be retained on the device through this process. To do so, head to Settings > General > Reset, then tap ‘Erase All Content and Settings.’ Make sure that while doing this step. Don’t forget to back up your important information with iCloud!
Restoring Your iPhone Using iTunes or Finder
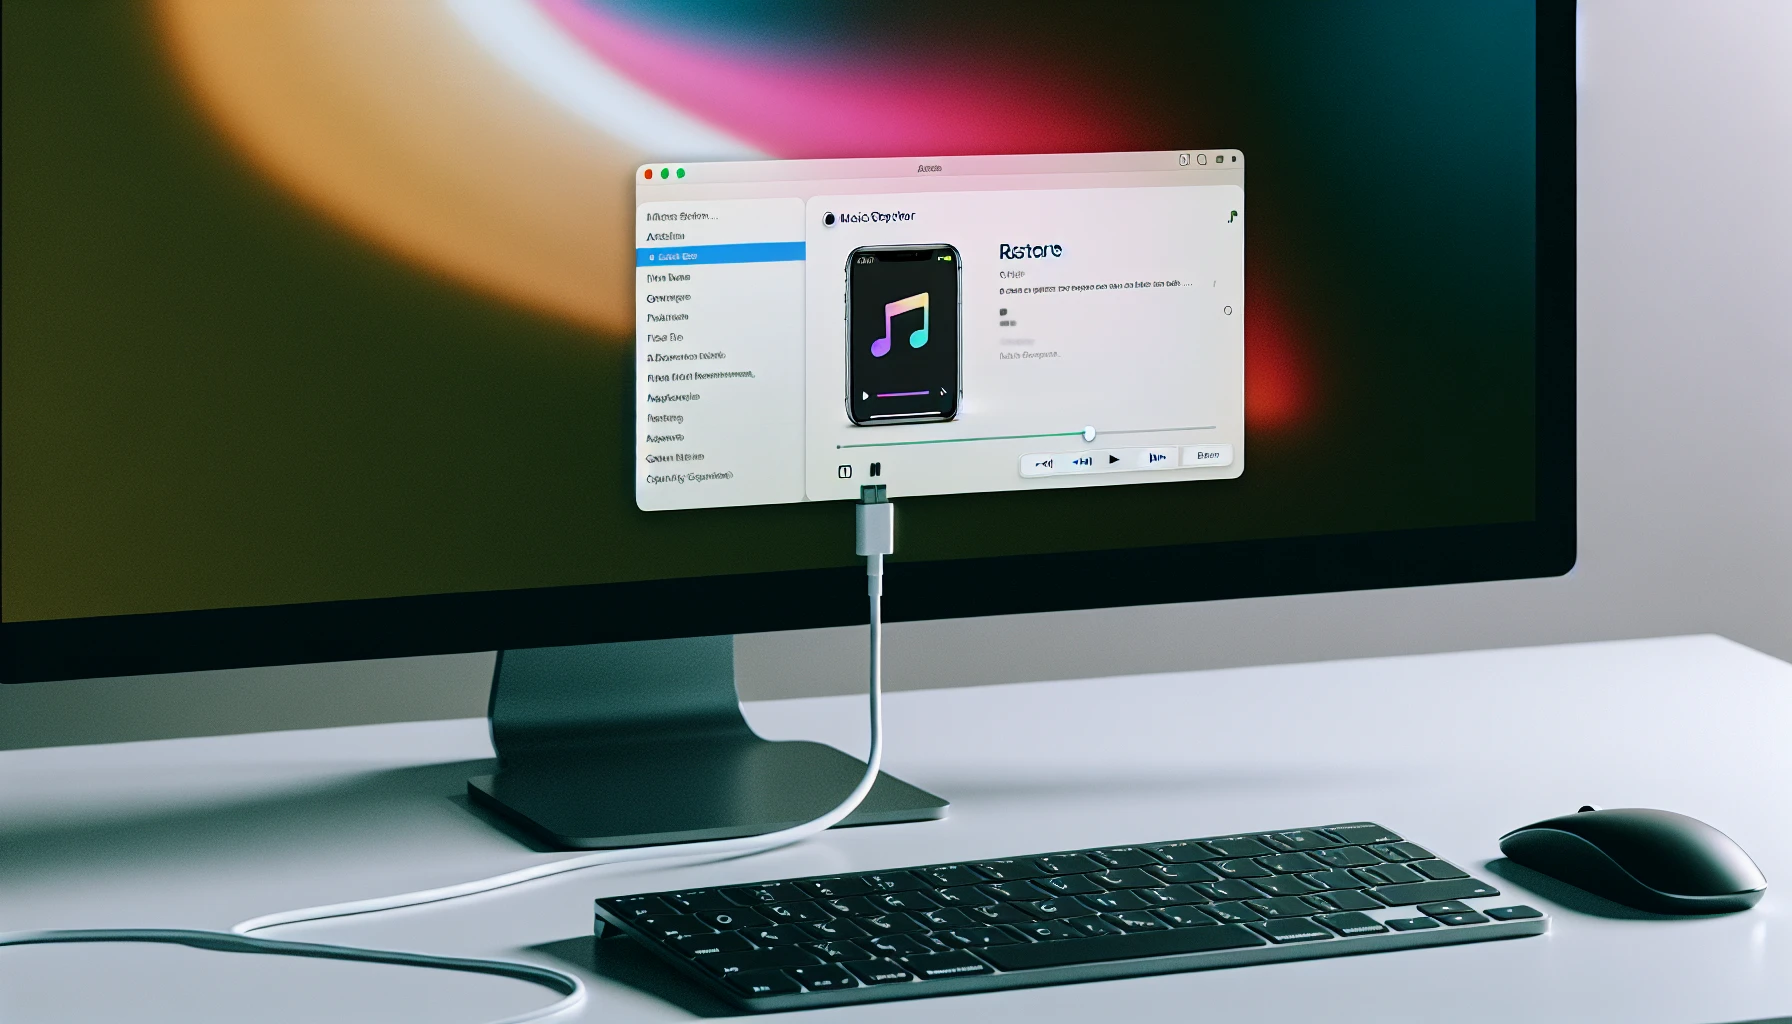
It is possible to restore an iPhone using iTunes and Finder, both of which are available on your local computer system. I've shared below the instructions for doing that: these steps will guide you through the process of using either program to bring back all your data onto the device.
Restoring with iTunes
Connect your device to the computer using a USB cable, and open iTunes. Then select restore backup to start restoring your iPhone – this may take some time depending on both the size of your saved data and how powerful the computer is being used. This process will result in erasing all apps, settings, and other information from it and replacing them with those existing in iTunes’ backup file you chose priorly. Please note that having an up-to-date version of iTunes installed can make a massive difference while maintaining a good connection between phone and PC.
Restoring with Finder
Connect your iPhone to the Mac running macOS Catalina or higher using a USB cable and open Finder. For it to be visible, hold down the Option key on your keyboard while selecting the device from the sidebar in Finder. Press the ‘Restore iPhone’ button which could take some time due to large backup files and the connection speed of both devices being factors that need consideration here if you wish this tap restore process to go smoothly without any trouble. So keep an eye out!
Resetting Your iPhone to Factory Settings
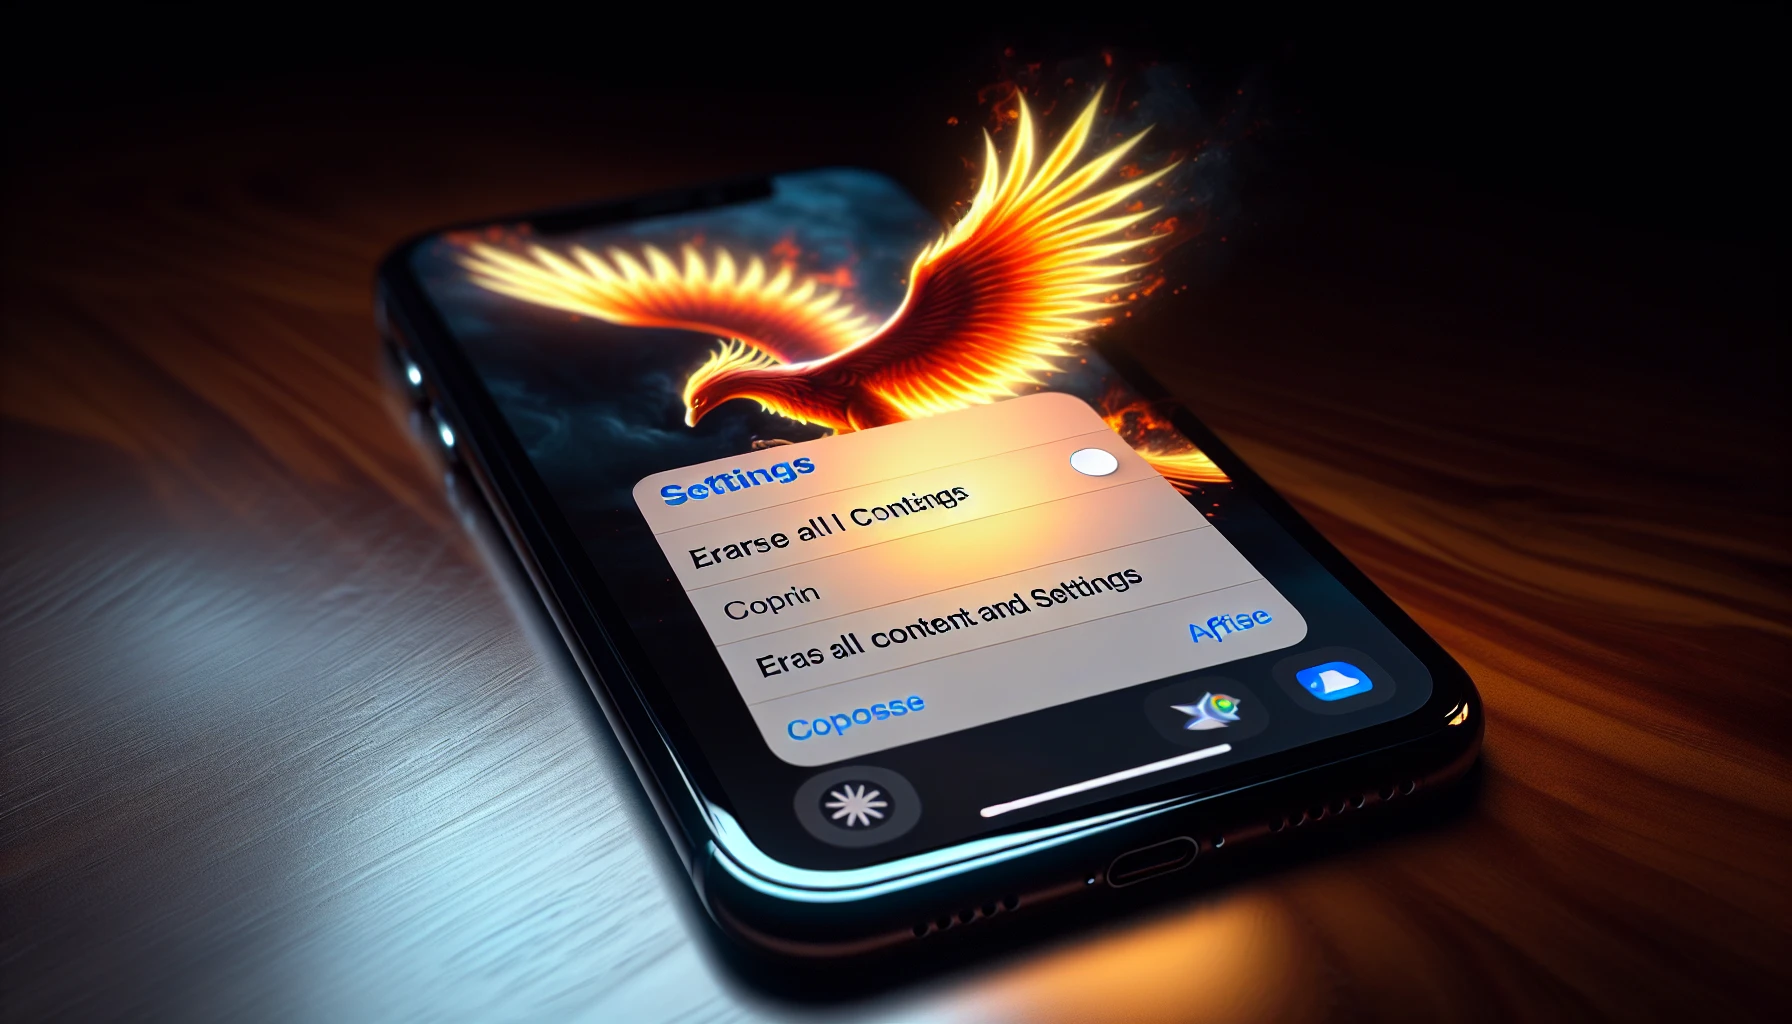
Before beginning restoration, resetting your iPhone back to its factory settings is recommended for a smoother process. Various points should be taken into account beforehand, such as data backup (making sure all necessary information is saved), signing out of online accounts like iCloud and iTunes, along with confirming any authentication apps remain functioning on the new device so access can still be granted even after it’s been reset.
If you would like to go ahead and head over to Settings > Process Execution. General, then choose ‘Erase All Content and Settings’; by tapping on this, you will successfully erase everything, including personal data, from your phone, which will result in taking it back down to an initial state again.
Alternative Backup and Restore Options
When it comes to restoring your iPhone data, iCloud, iTunes, and Finder are the most popular choices. There is an alternative available. Google One. This cloud storage facility provides a safe place for users to back up contacts, photos, videos, and calendar details.
Unfortunately, though Google, google is not helping. One does not cover other elements of the phone like apps or settings, meaning they cannot be restored in this way. Instead you would need access to specific applications such as Google Photos if necessary to retrieve stored files from here.
Troubleshooting Common Restoration Issues
If you need help with restoring your iPhone, such as incomplete or corrupted backups or a restoration process that is running too slow/is stuck, we are here to help. This guide will offer solutions for these common restoration problems and provide strategies on how best to proceed with the re-installation of your device.
Incomplete or Corrupted Backups
If your backups are incomplete or corrupted, there are ways to fix this issue. One option is making a new backup and verifying that the computer’s software and iPhone apps, have been updated accordingly. Nevertheless, if these measures fail to work, you should consider contacting Apple Support for help tackling this problem so that all of your data will be securely backed up again without complications.
Restoration Stuck or Taking Too Long
If you experience restoring your iPhone taking too long or appearing stuck, there are a few potential fixes. First, check if your connection to Wi-Fi and power source remains stable for an extended period – like 24 hours; this might help download all remaining data and perform restoration.
If these attempts don’t work, contacting Apple Support is best. They can identify any issue with your device and ensure all data is successfully restored on your iPhone.
Summary
Restoring your iPhone is imperative for retrieving lost data and solving issues. There are multiple options to ensure a successful result, such as iCloud, iTunes, and Finder. Users must pick the most suitable depending on their necessities. This guide detailed the various means of restoring. To provide backup alternatives and strategies to tackle common difficulties when trying to fix their iPhones confidently so they can recover valuable information safely.
Frequently Asked Questions
How do I manually restore my iPhone?
Tap the Restore from iCloud Backup option at the Apps & Data screen during the setup of your iPhone, enter your Apple ID credentials to access it, then select a backup and allow the device to reset itself back into its factory settings.
Where is the restore button on my iPhone?
To restore your iPhone, you must go into the Settings app and select General then Transfer or Reset. Select Erase All Content and Settings on this page, bringing up the Apps & Data screen. Here choose Restore from iCloud Backup.
Alternatively, if your phone is an 8 model or later one, press the Volume Up + Down buttons simultaneously and hold down the Side Button to enter recovery mode directly.
Why is my iPhone stuck on restore from iCloud?
If your iPhone is in the midst of restoration from iCloud and doesn’t seem to be progressing, there may be an issue with data availability, bandwidth, or cloud server access. Make sure that you have enough space on your device and a reliable Internet connection to complete the restoration process without any trouble.
How do I restore my iPhone to a previous iOS?
To return an iPhone to a prior iOS version, turn off Find My iPhone, and while holding down the Option/Alt key, click on Restore iPhone. You can choose which iteration of iOS you would like to install from your downloads folder.
How do you back iPhone iCloud?
For your iPhone, make sure to create a backup on iCloud by going into the Settings app and tapping [your name], then selecting iCloud. Be certain that Wi-Fi is activated for the device before you hit ‘Back Up Now’ to start the process. To confirm when it last made one, look at ‘Back Up Now.’ This way can ensure all important data stored in this device is kept safe with an iCloud backup of yours!